April 15, 2026
·3 min readRealistic Mockups
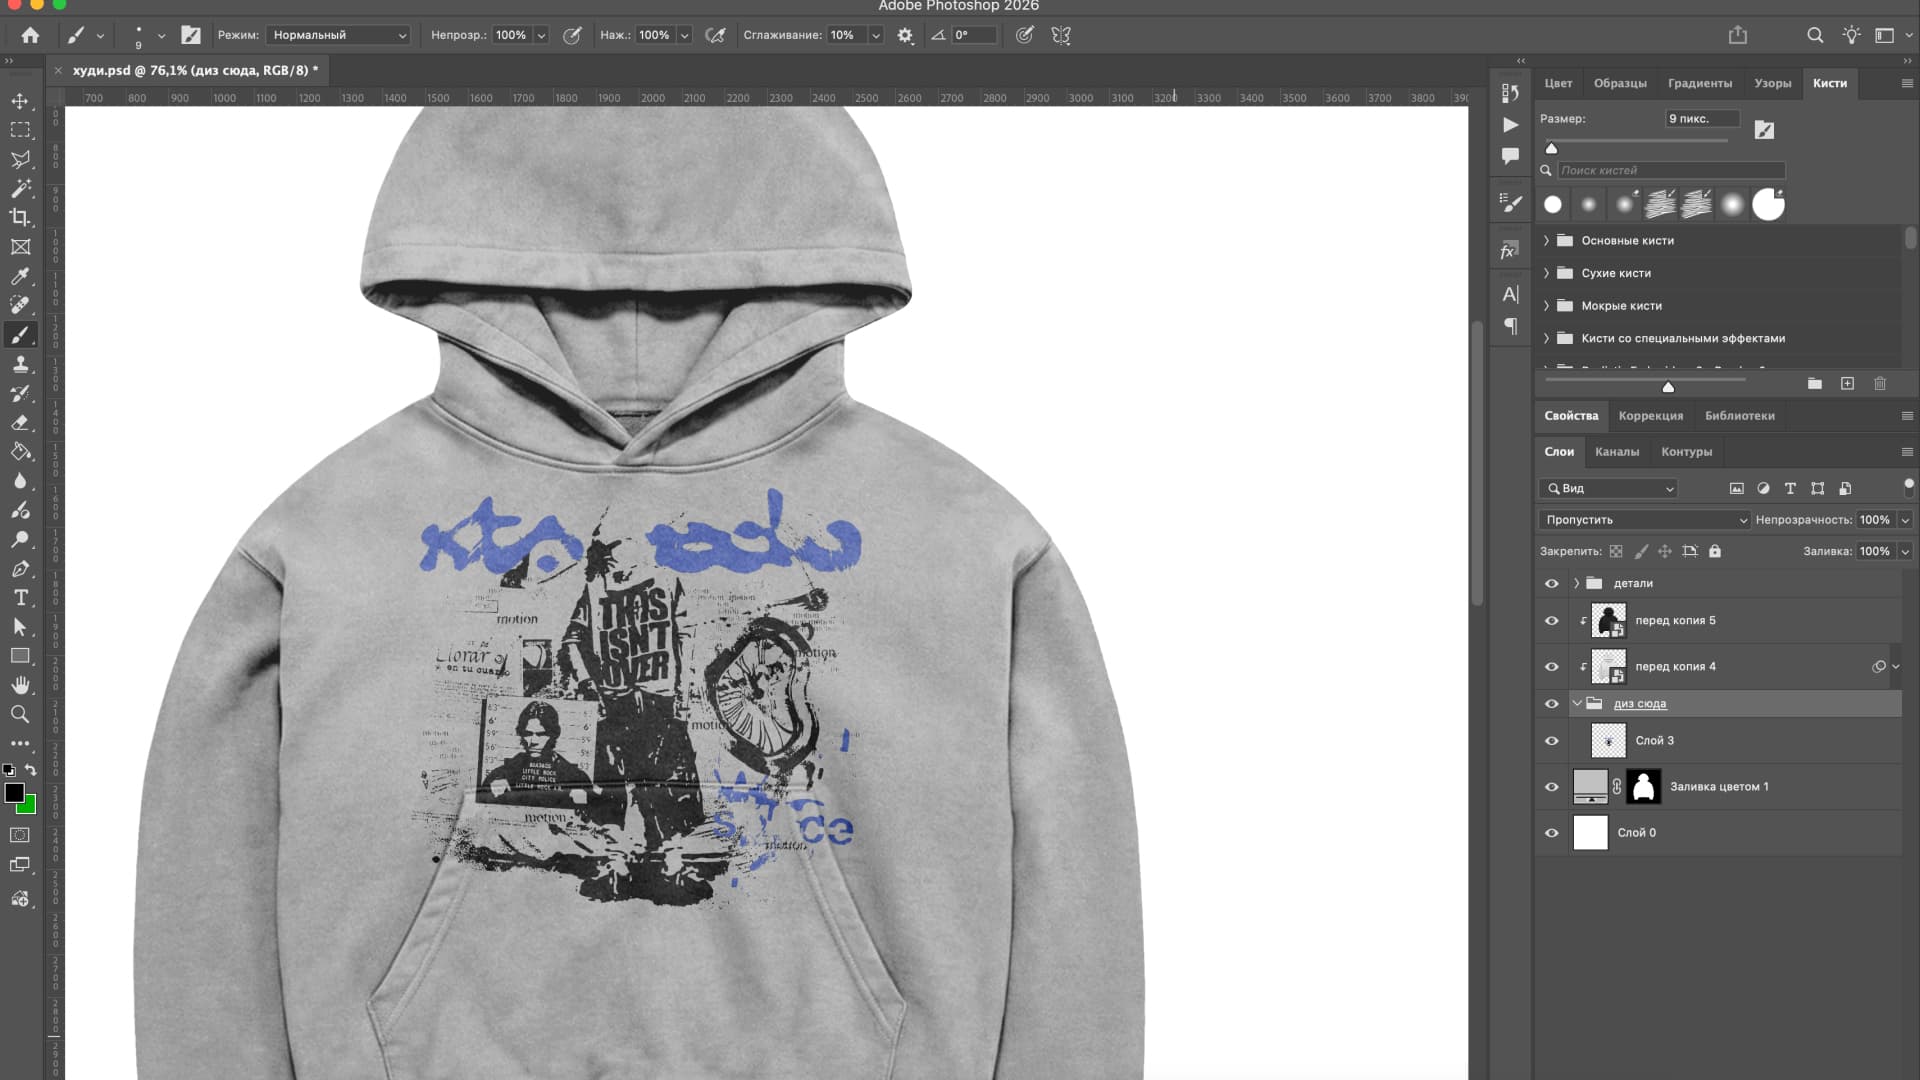
What is it and what's it for?
A mockup is a visual model of an item — in our case, clothing. It helps show what your design will look like on the garment.
Realistic mockups are needed for the final visual, which then gets posted on social media and shown to your audience to sell and promote the clothing itself.
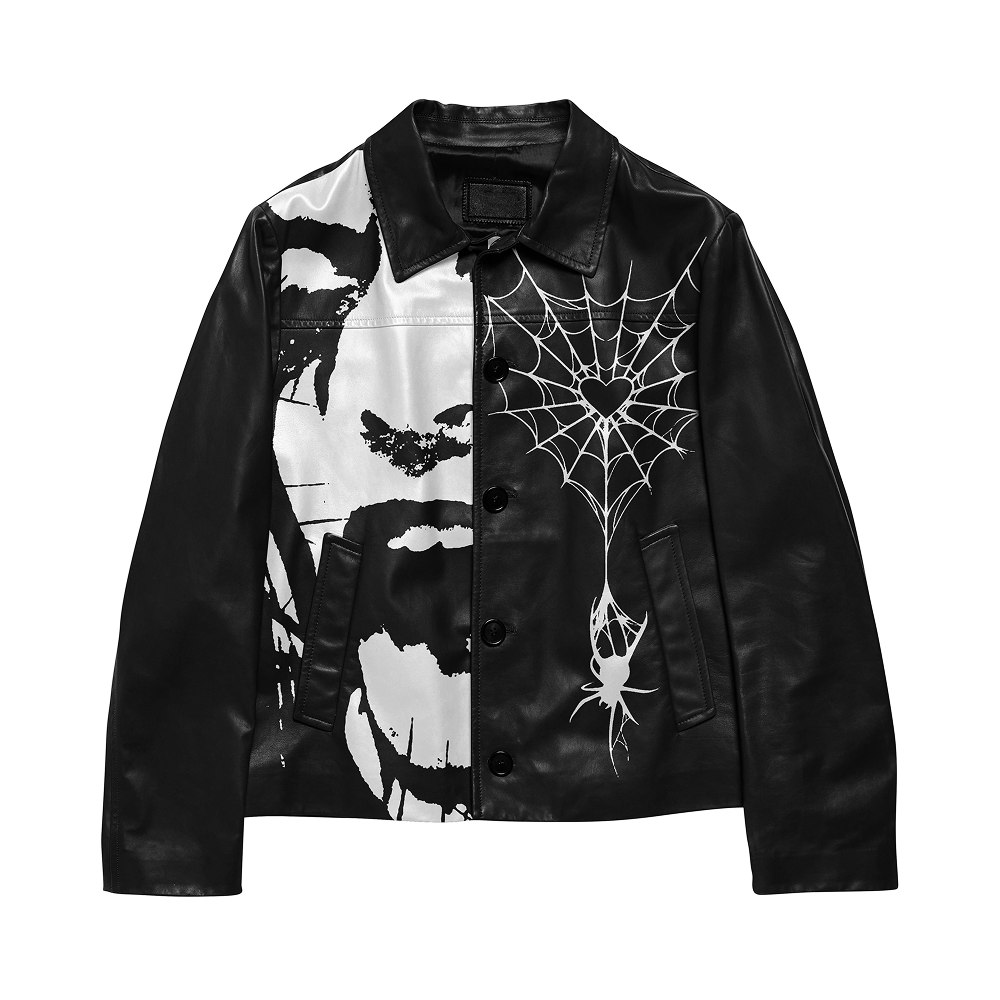
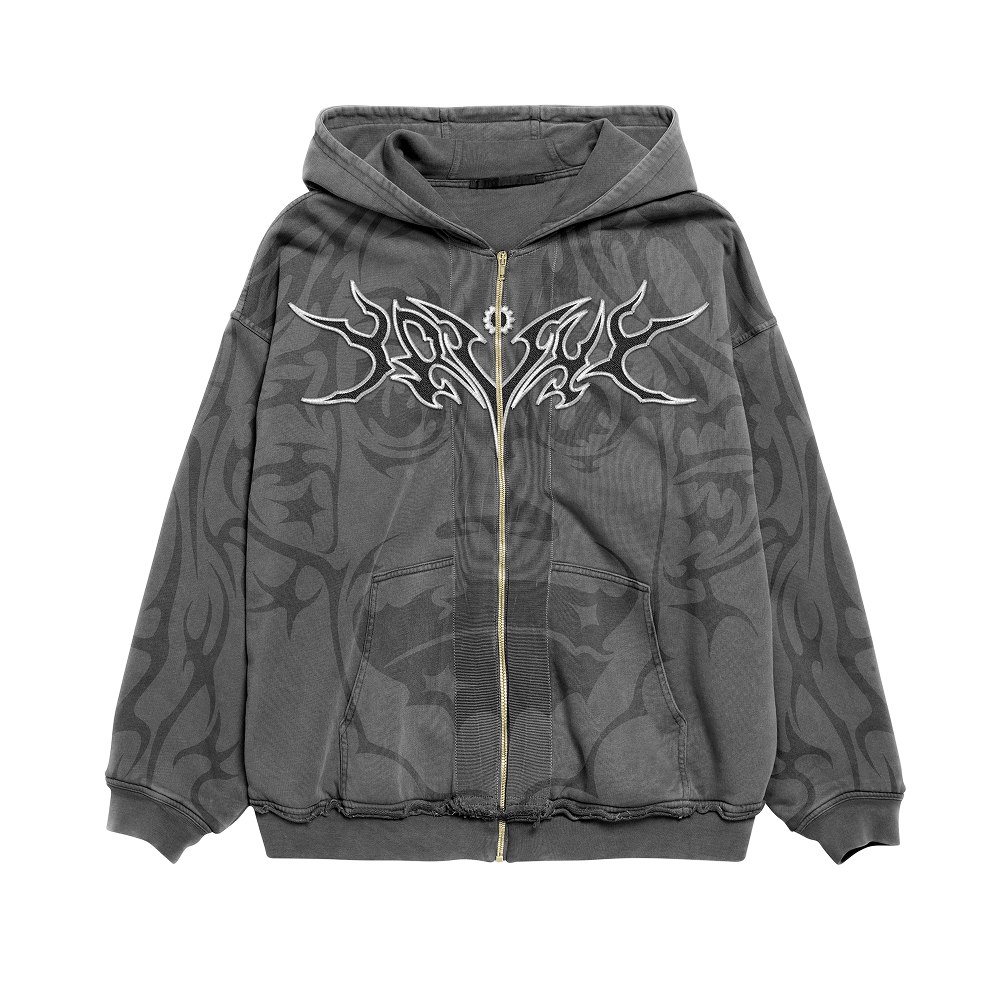
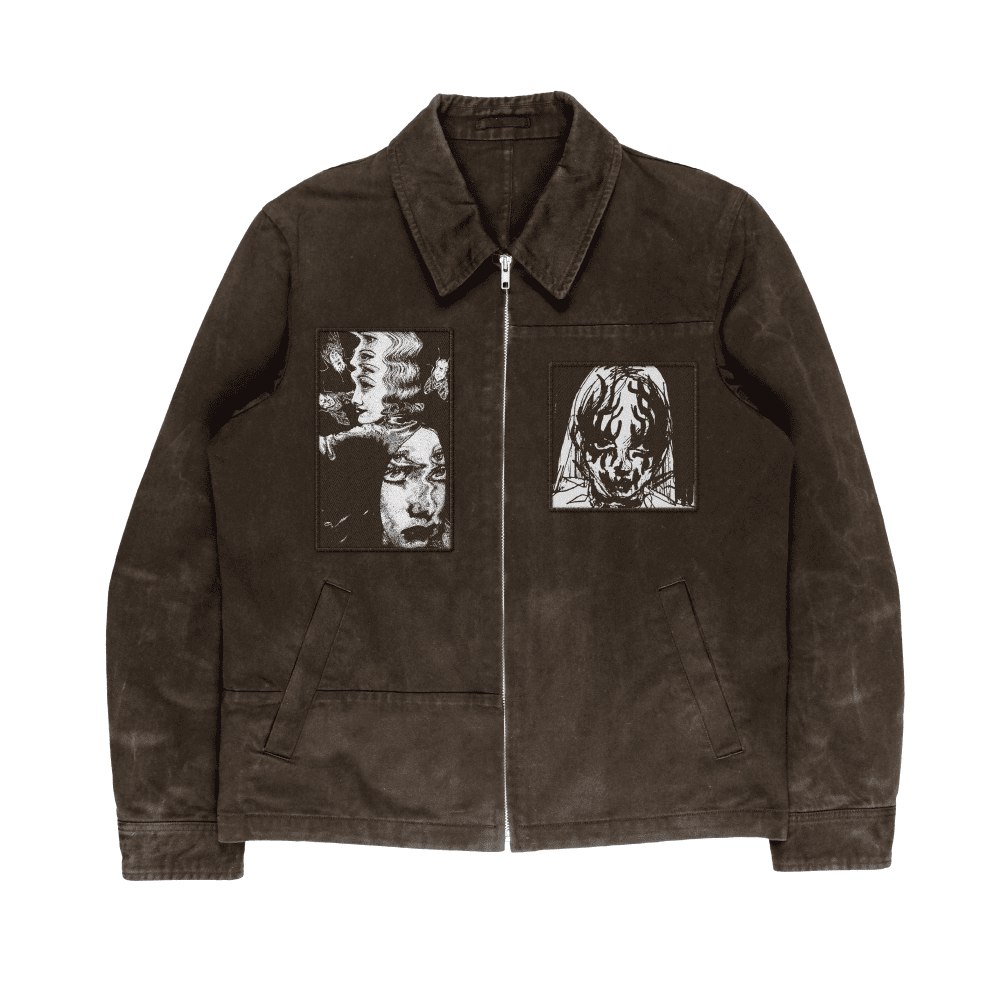
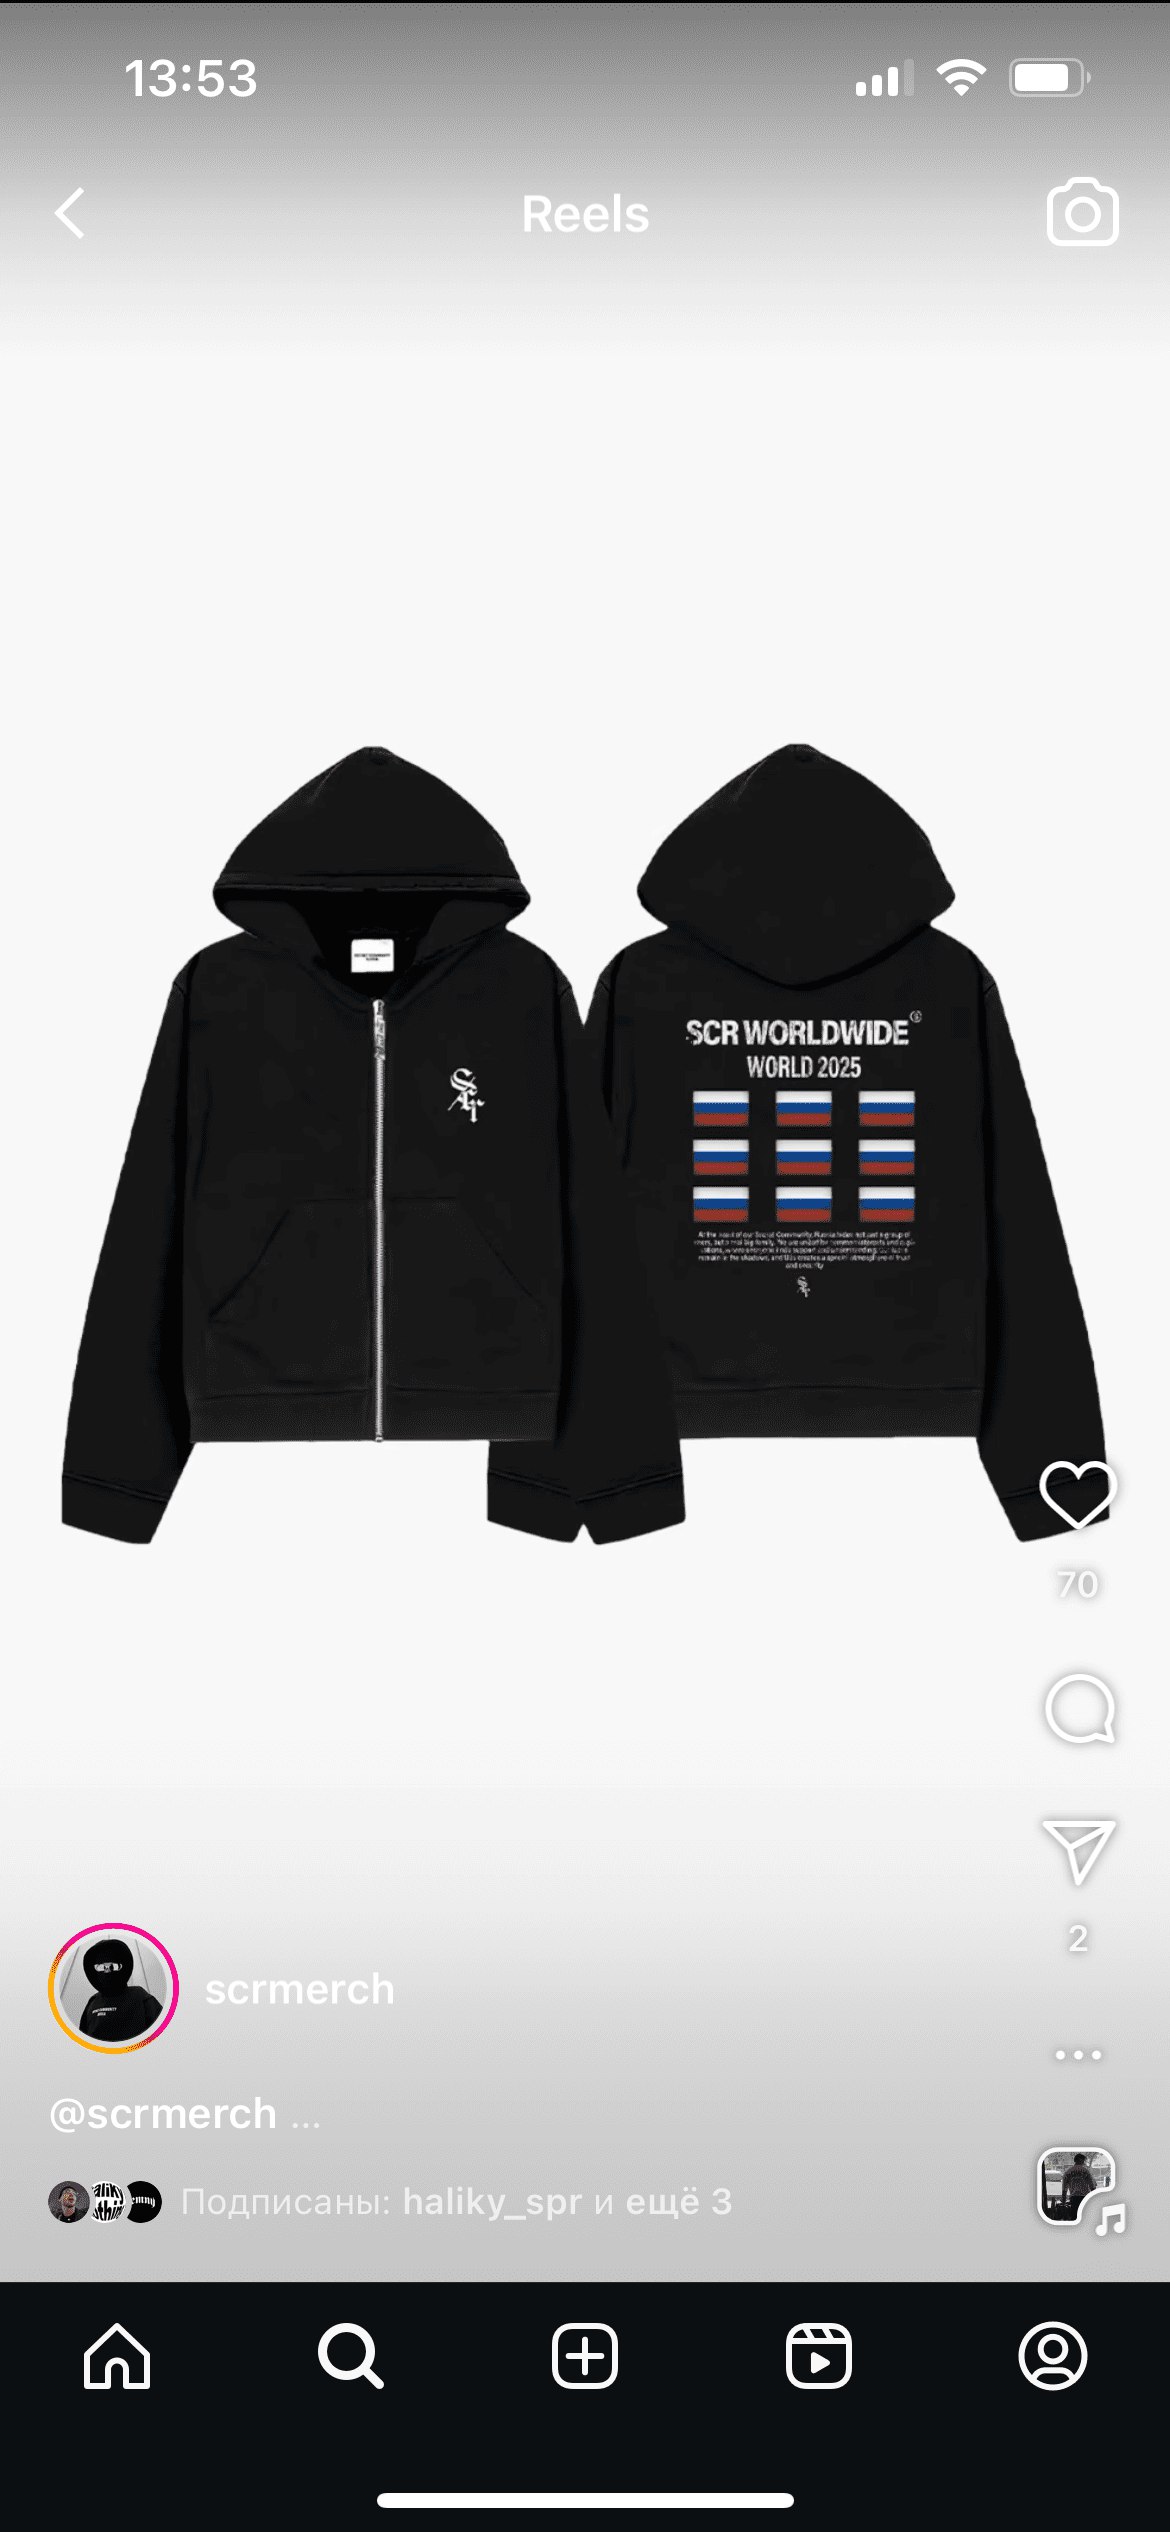
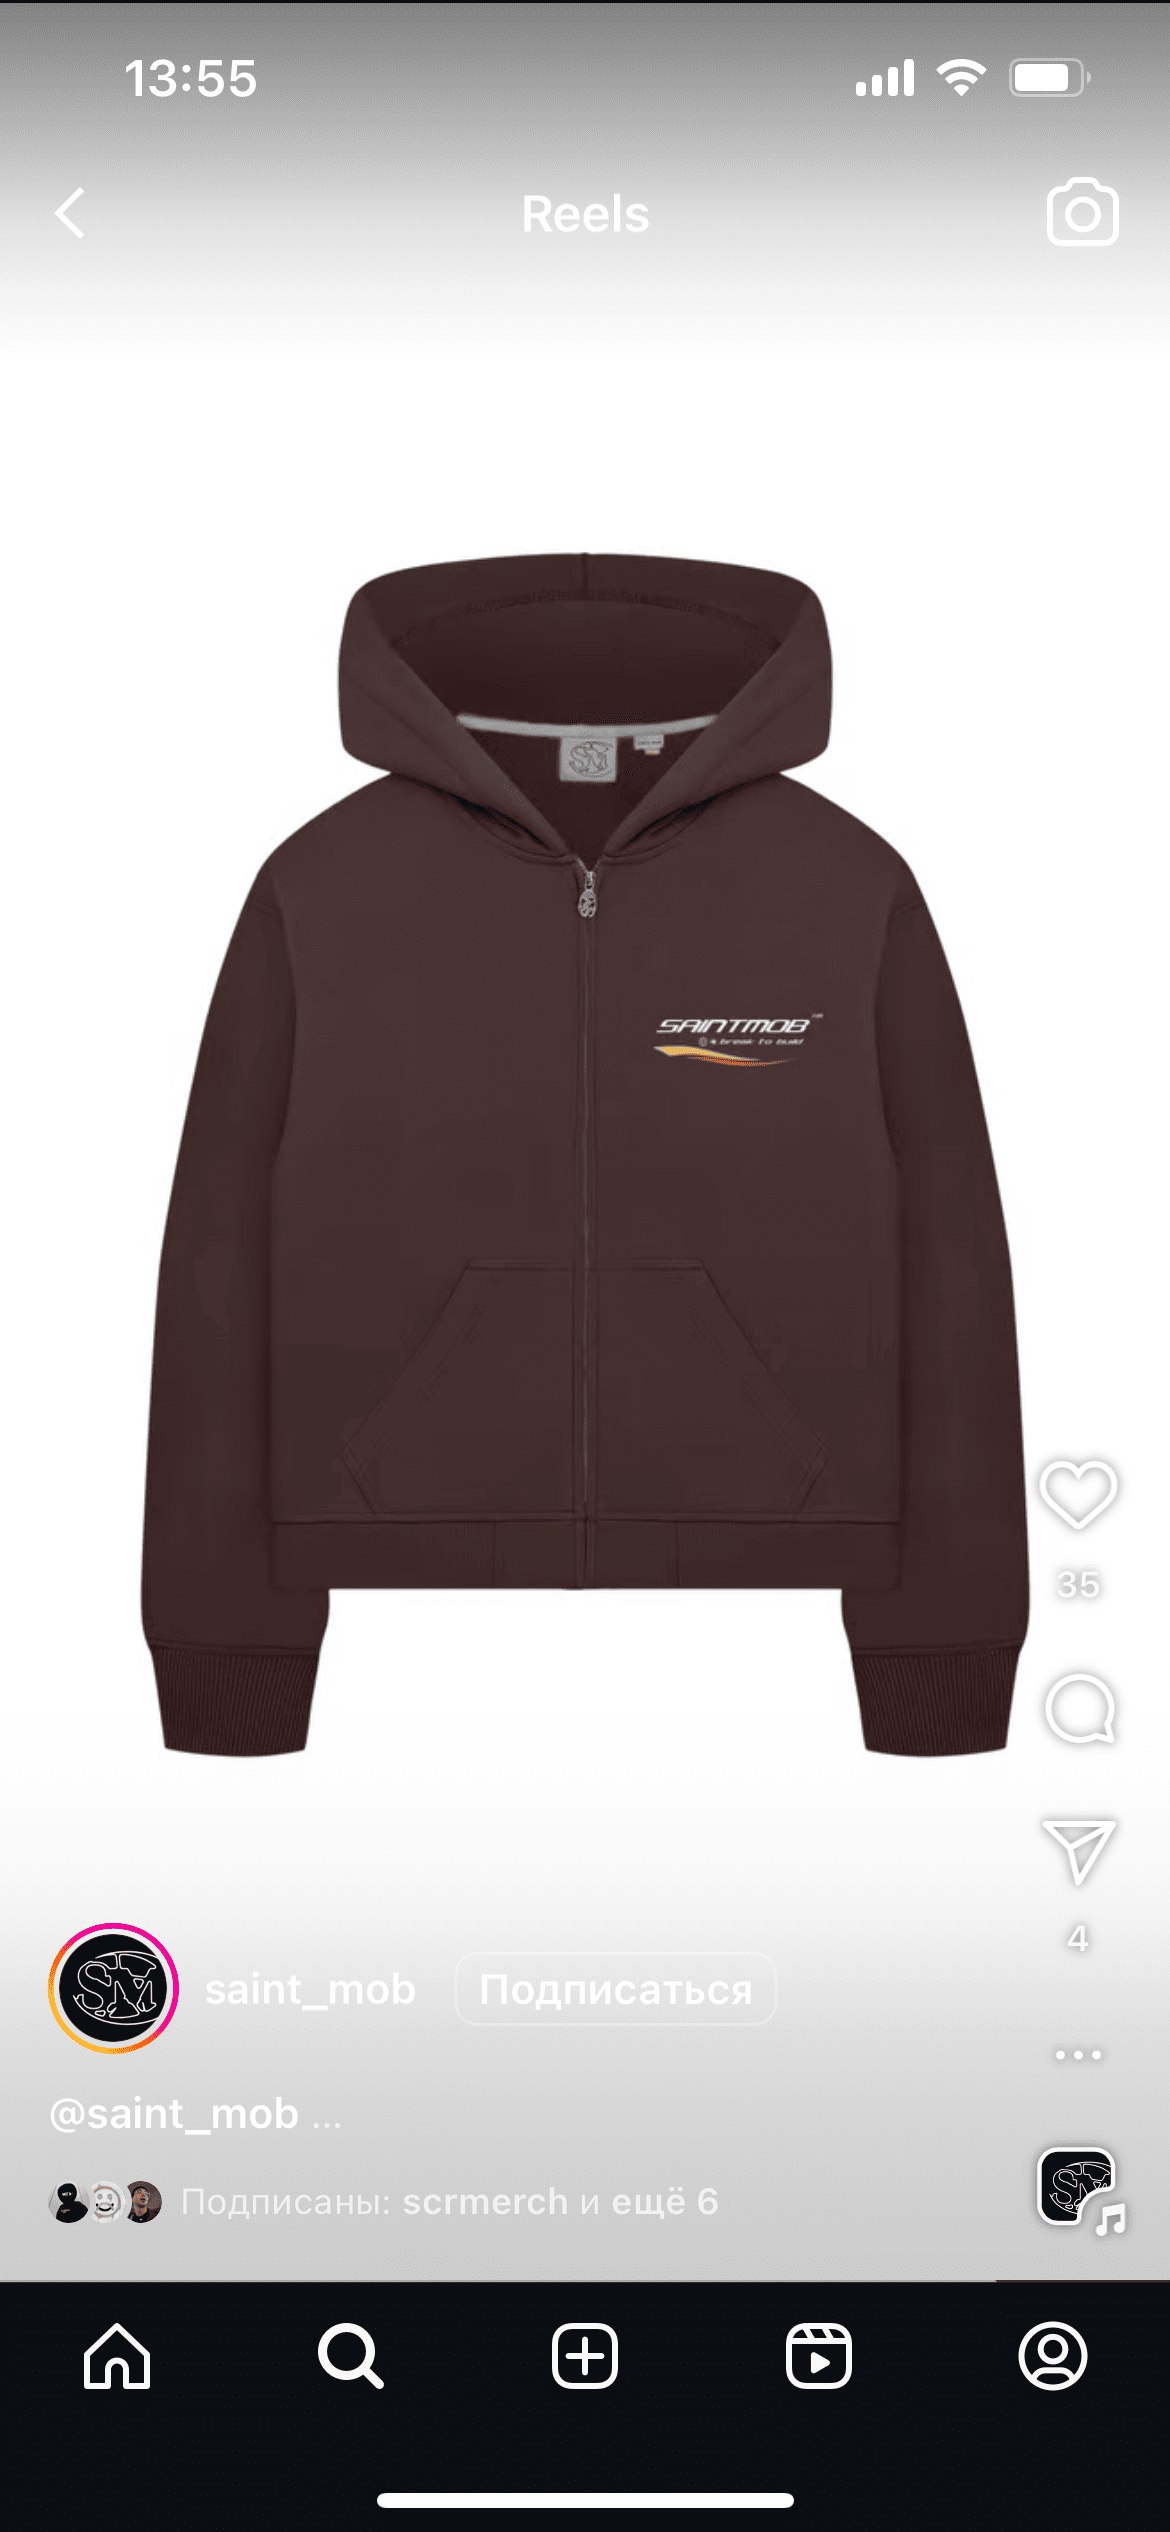
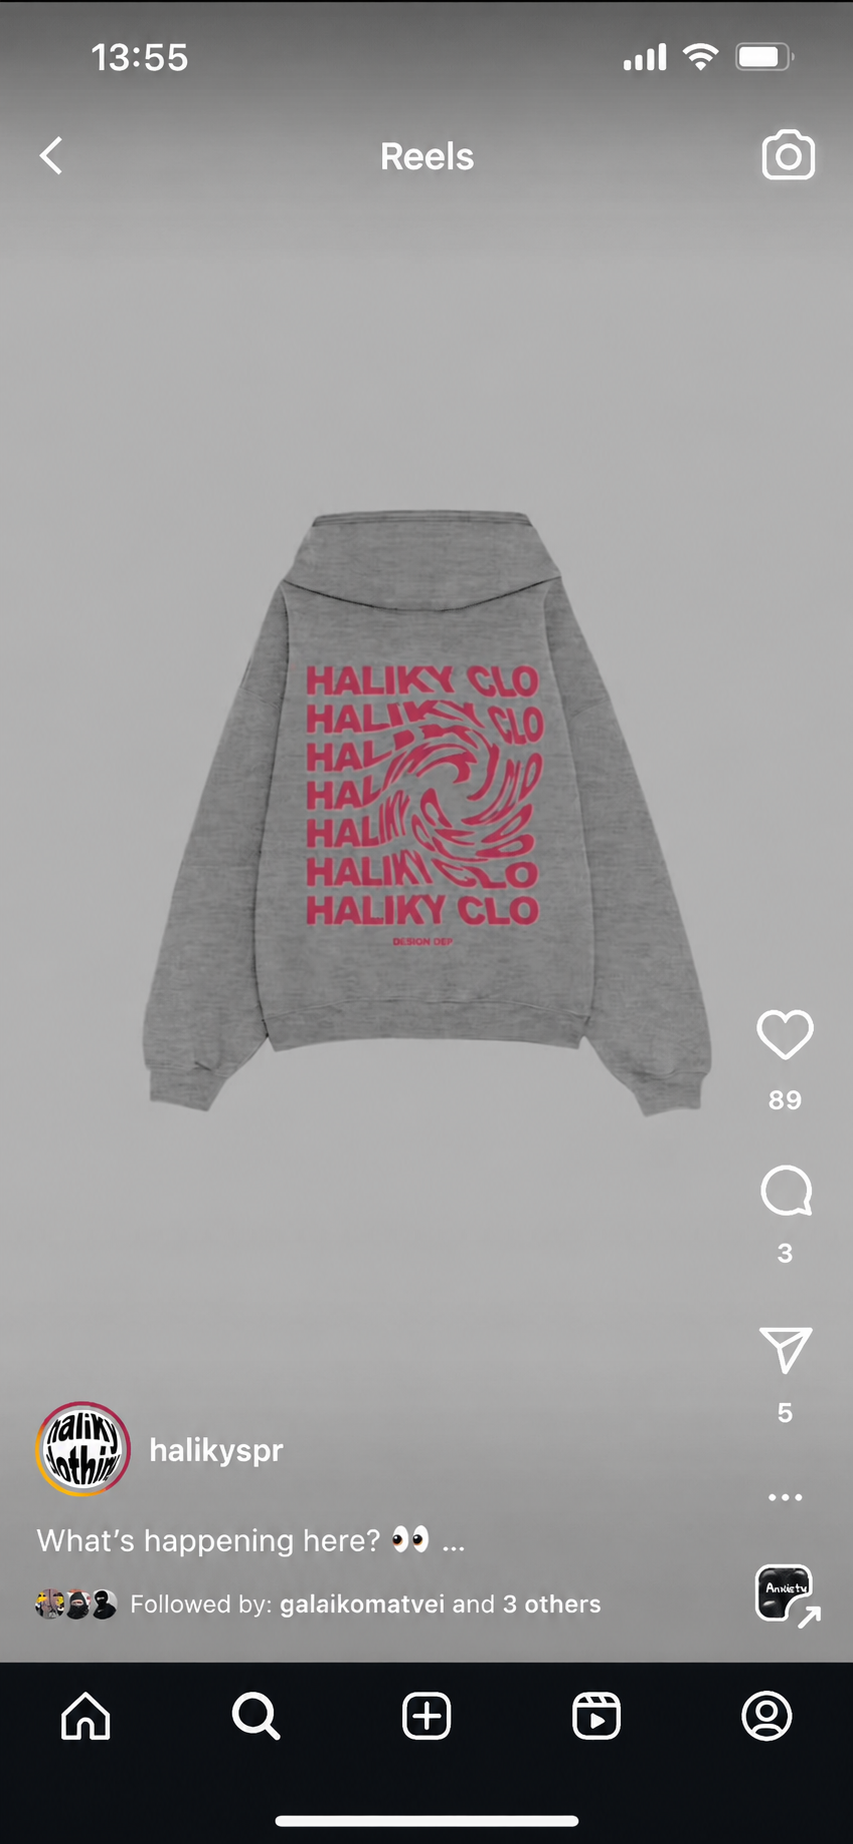
Mockups are used by many brands in their marketing — for example, vertical content:
What's in the set?
166 mockups:
22 t-shirts
17 hoodies
9 zip-hoodies
4 caps
10 long sleeves
6 sweaters
6 beanies
27 shorts
8 sweatshirts
28 pants
8 tags
21 other items
Additionally:
Heather/melange rendering
Wash/dye rendering
Cut/slash rendering
166 mockups; Two views: front, back; 4000x4000 resolution at 300 dpi; Any mockup color in 2 clicks; Print overlay effect; Heather rendering; Dye rendering; Distress rendering; Format: PNG, PSD
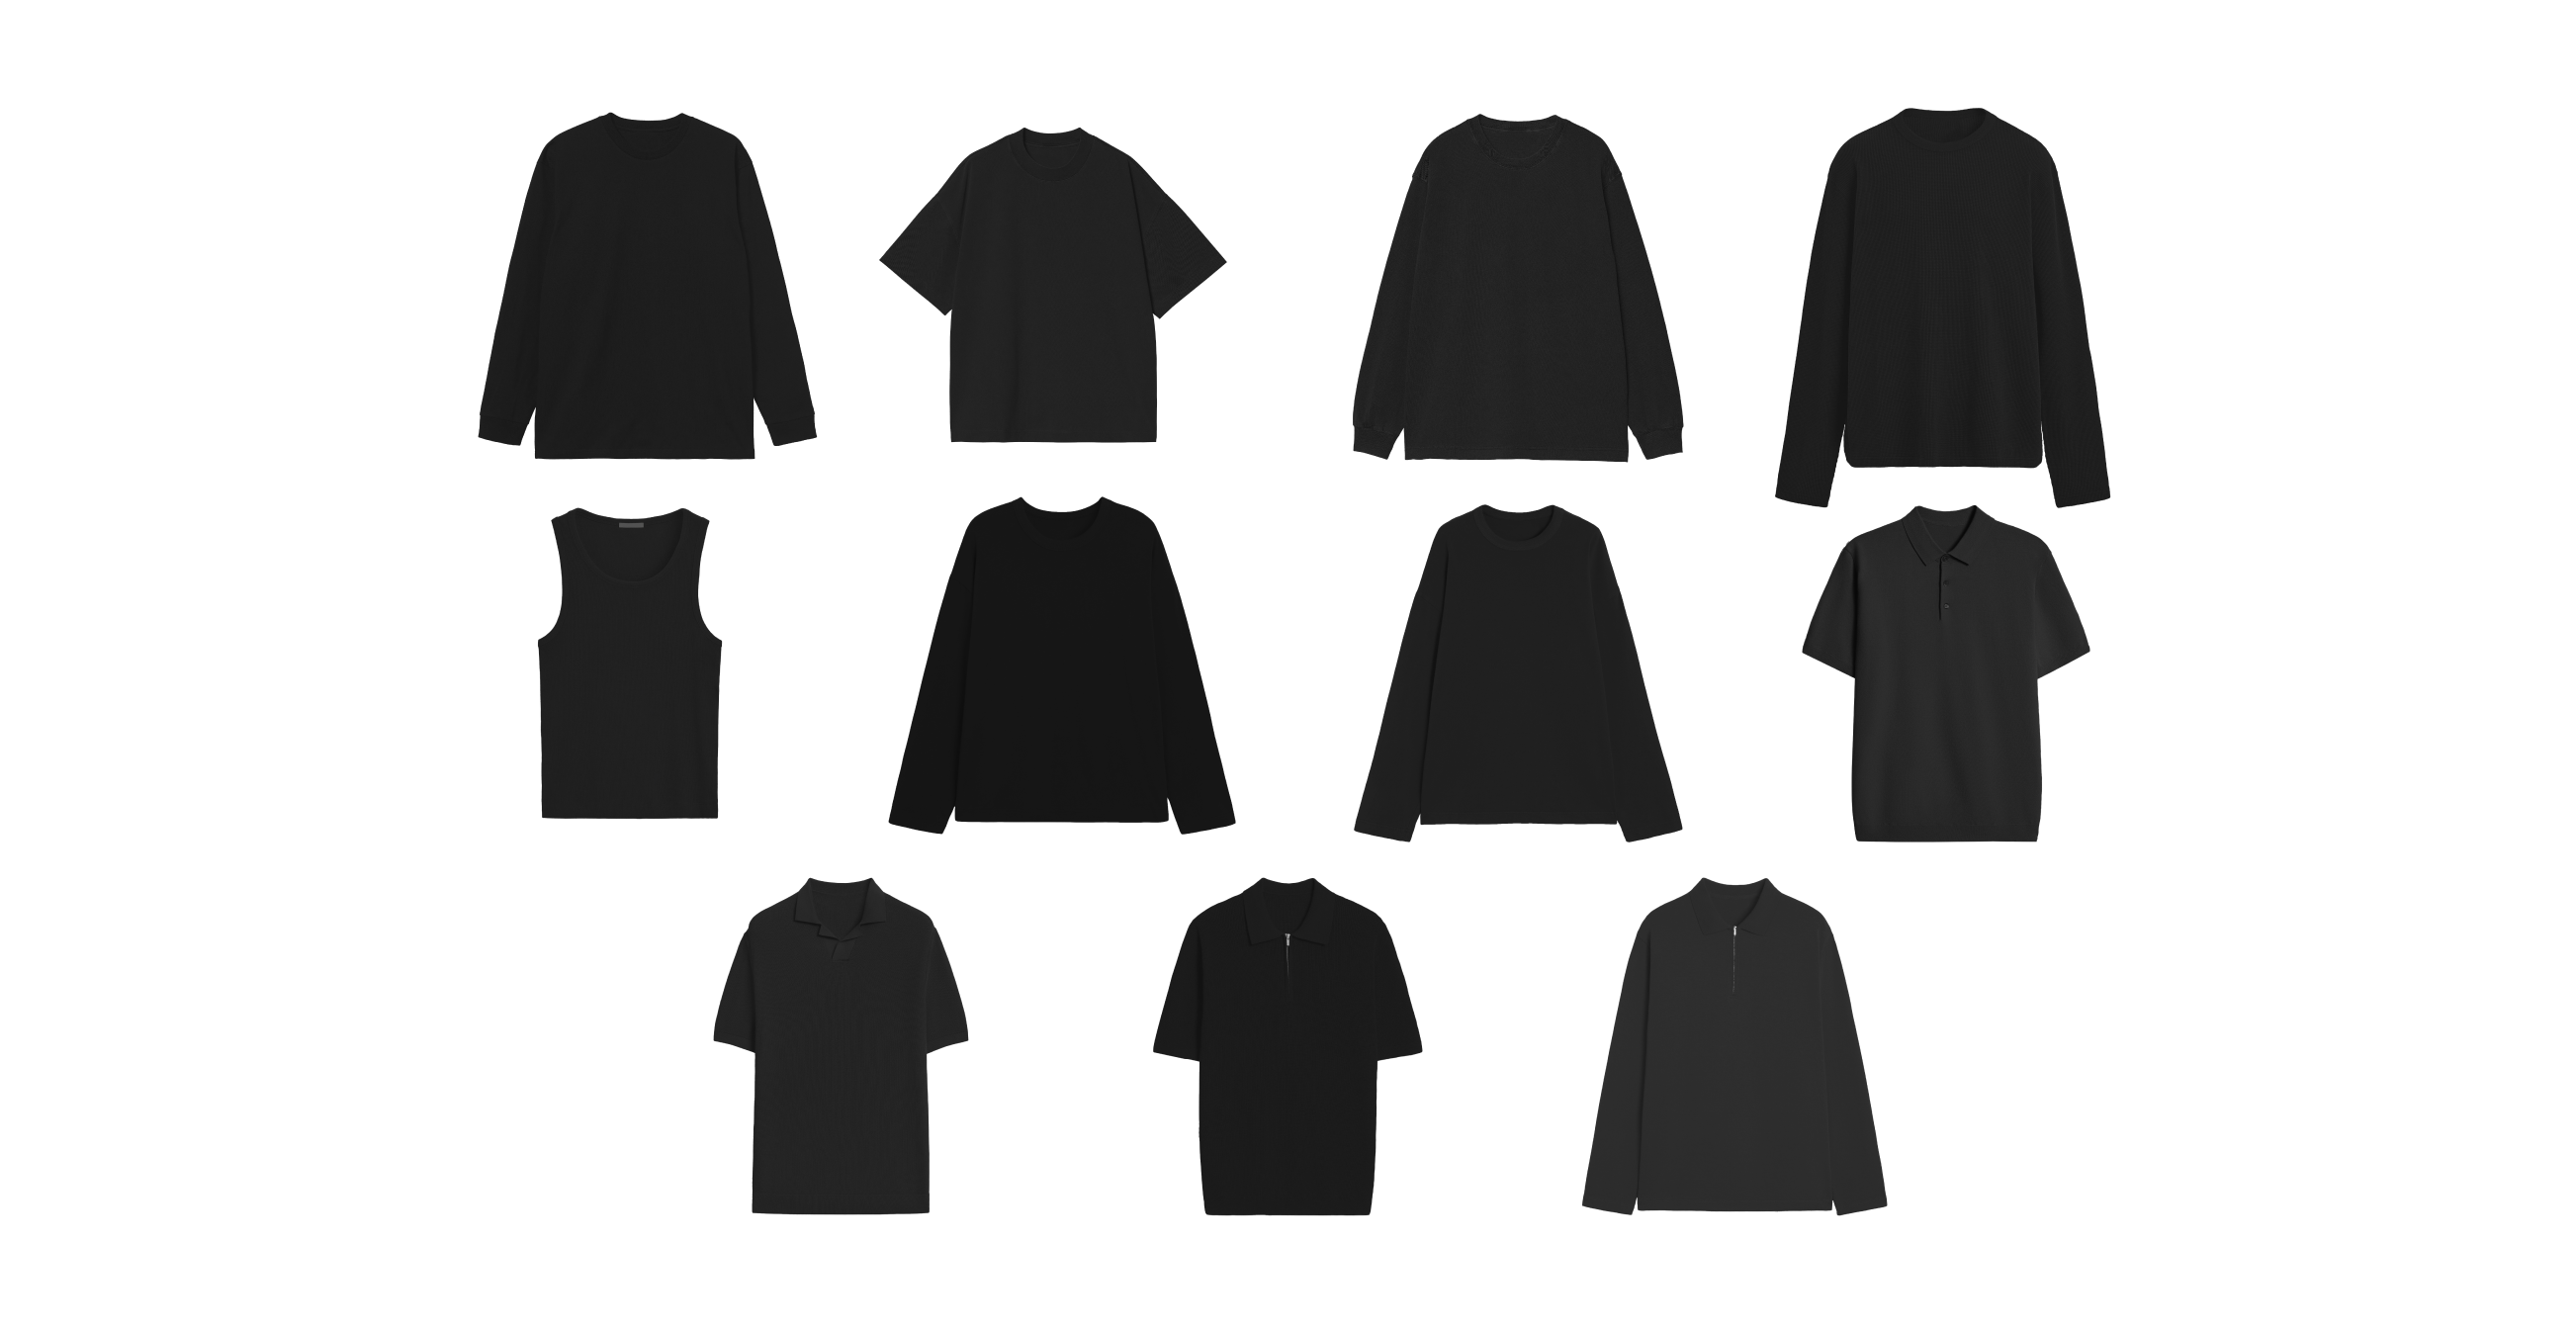
New top mockups
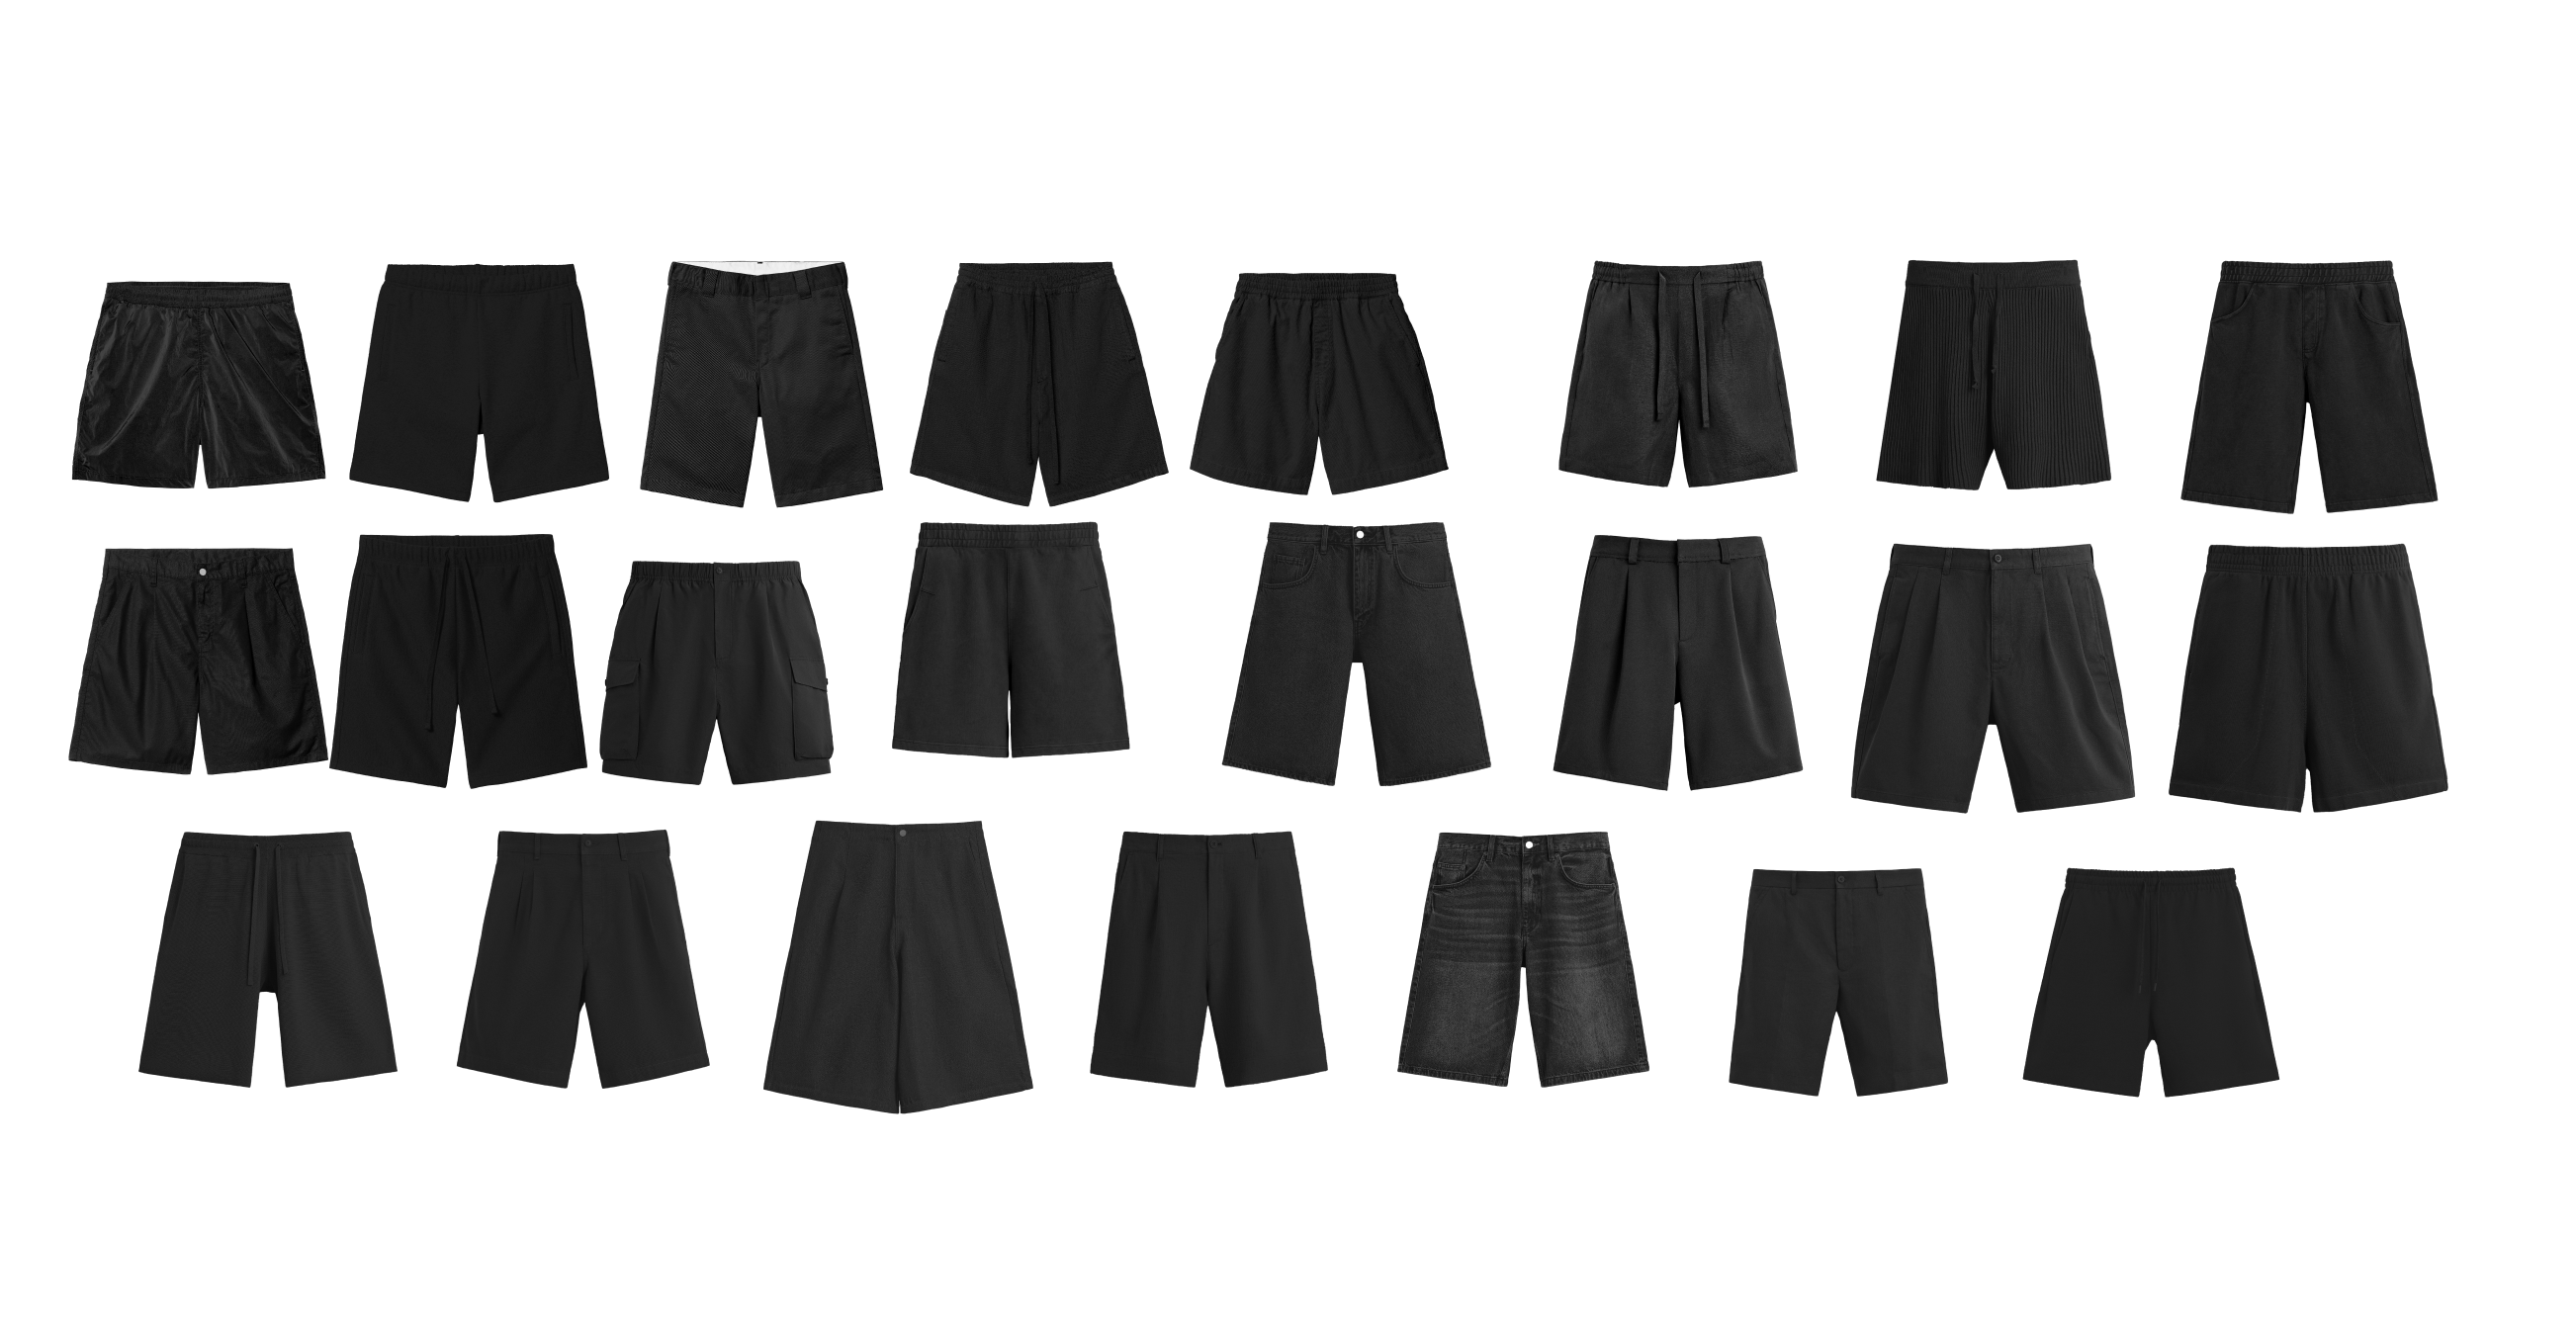
New shorts mockups
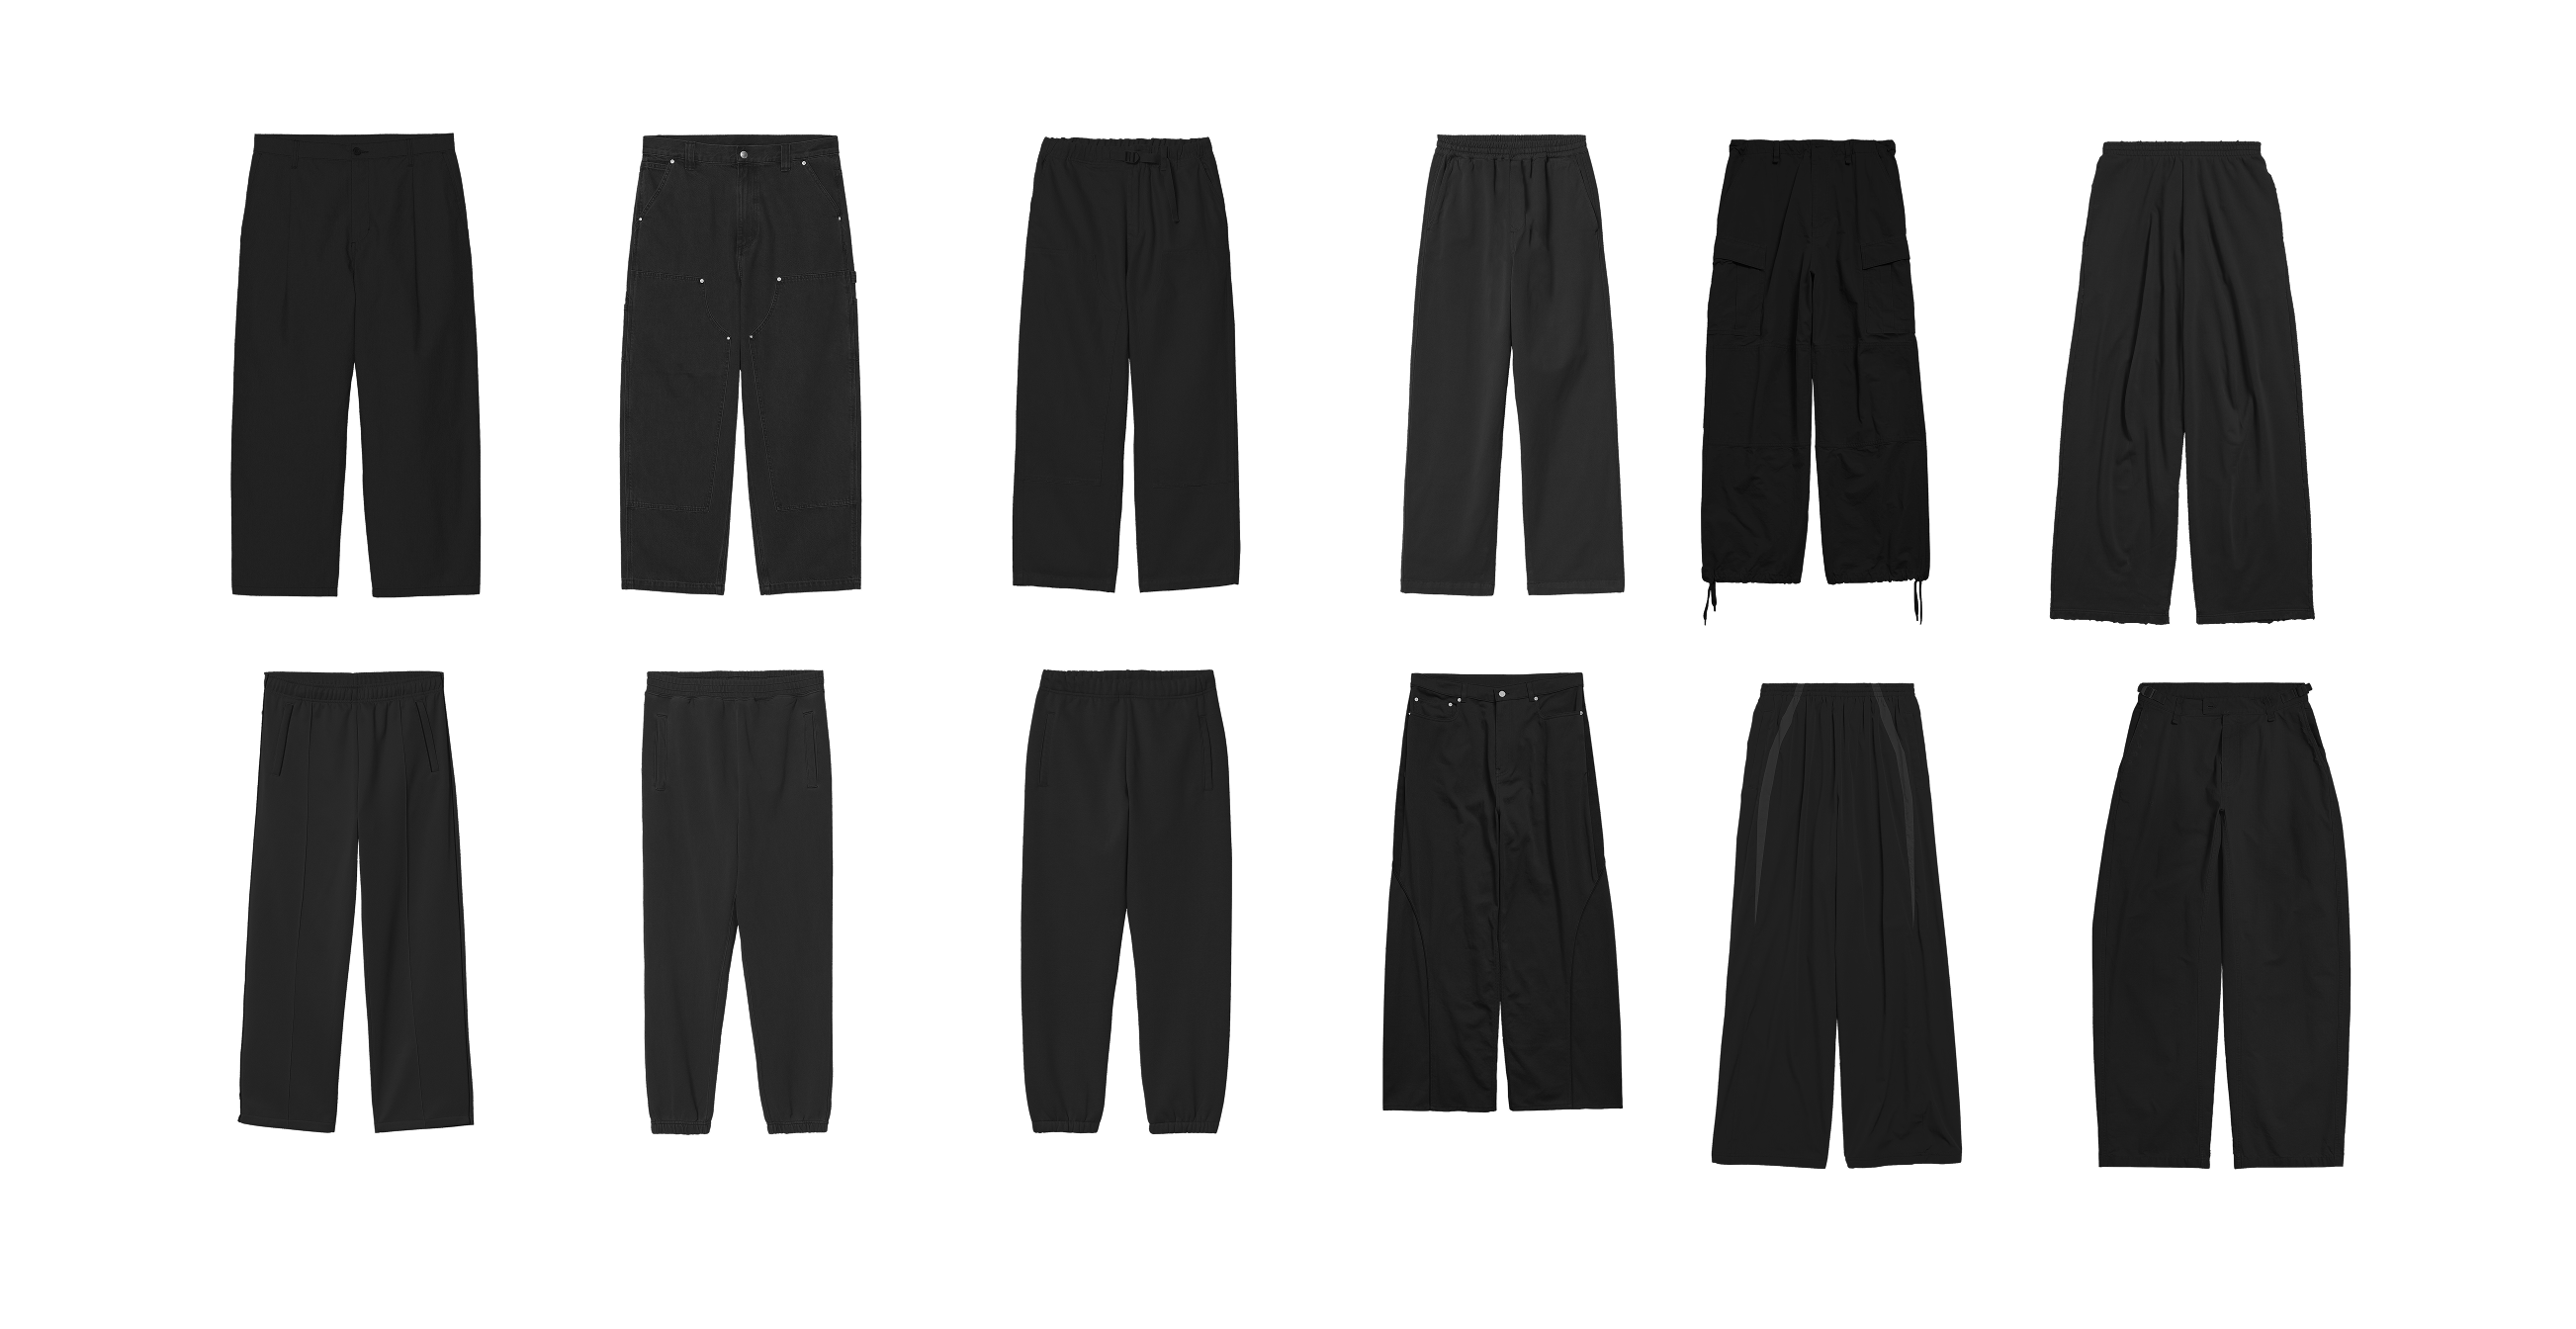
New pants mockups
The mockups from the first version of the set are also included in this pack.
How does it work in practice?
Basic interaction.
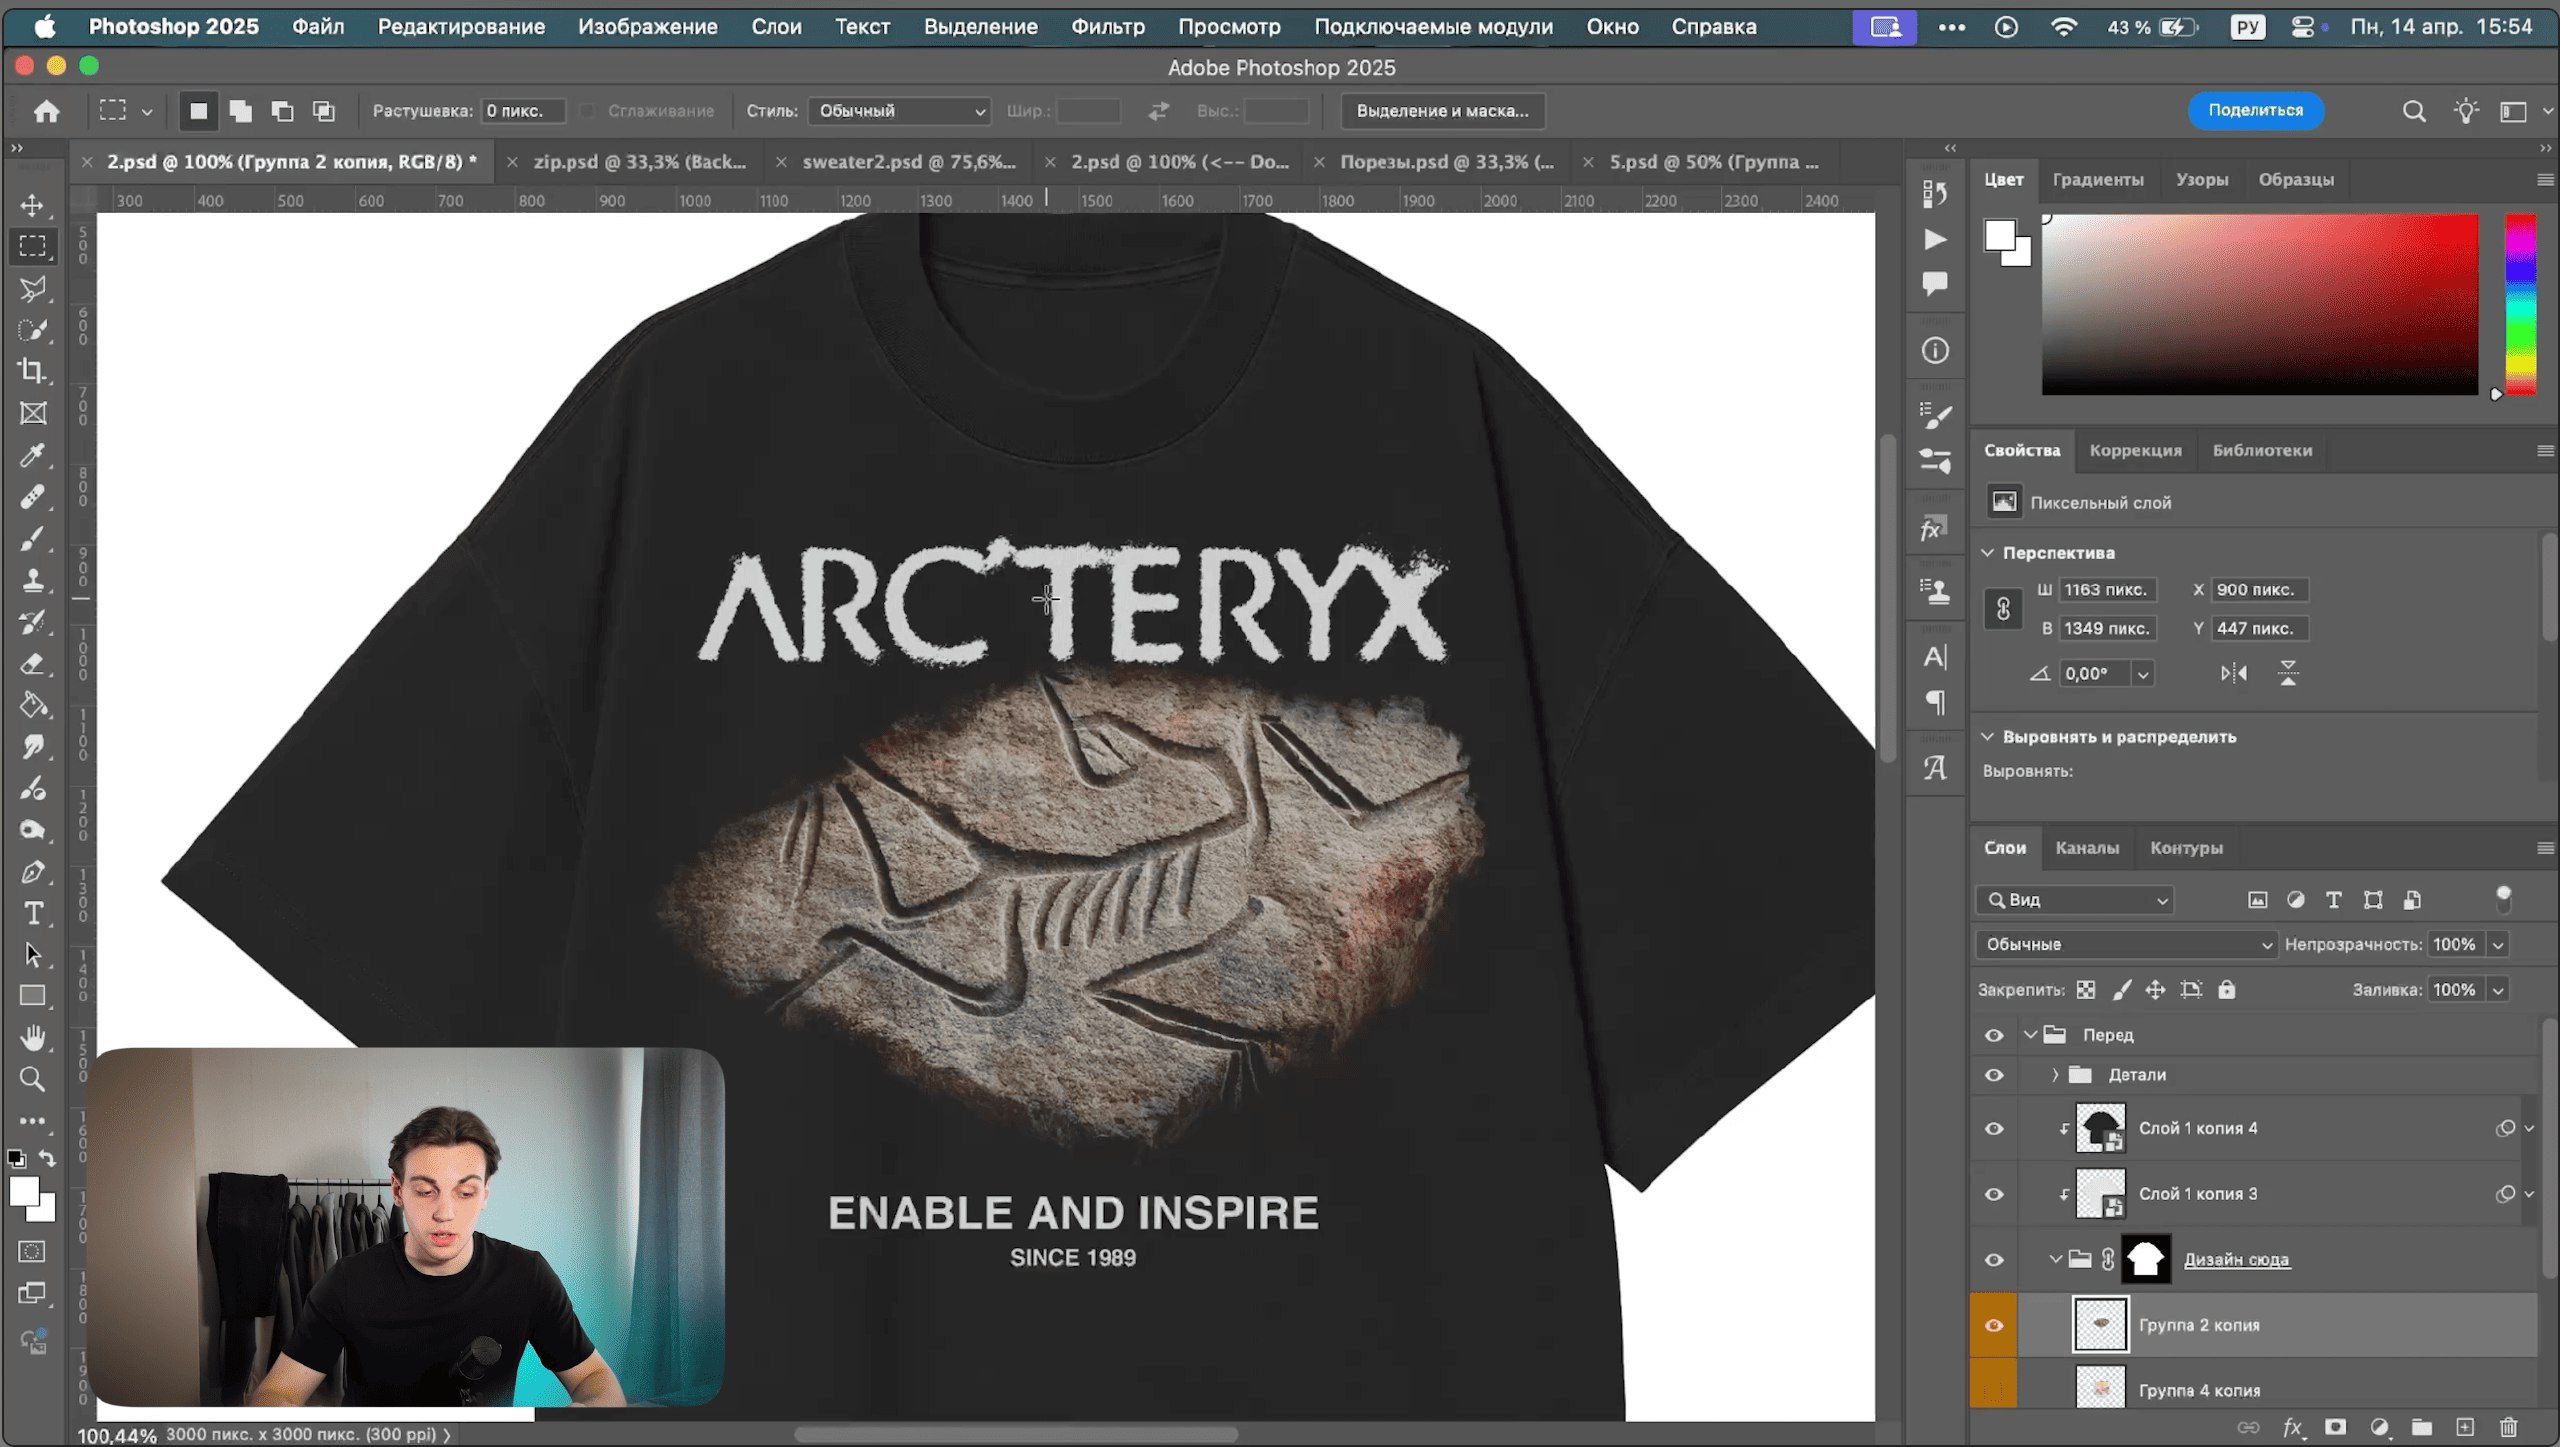
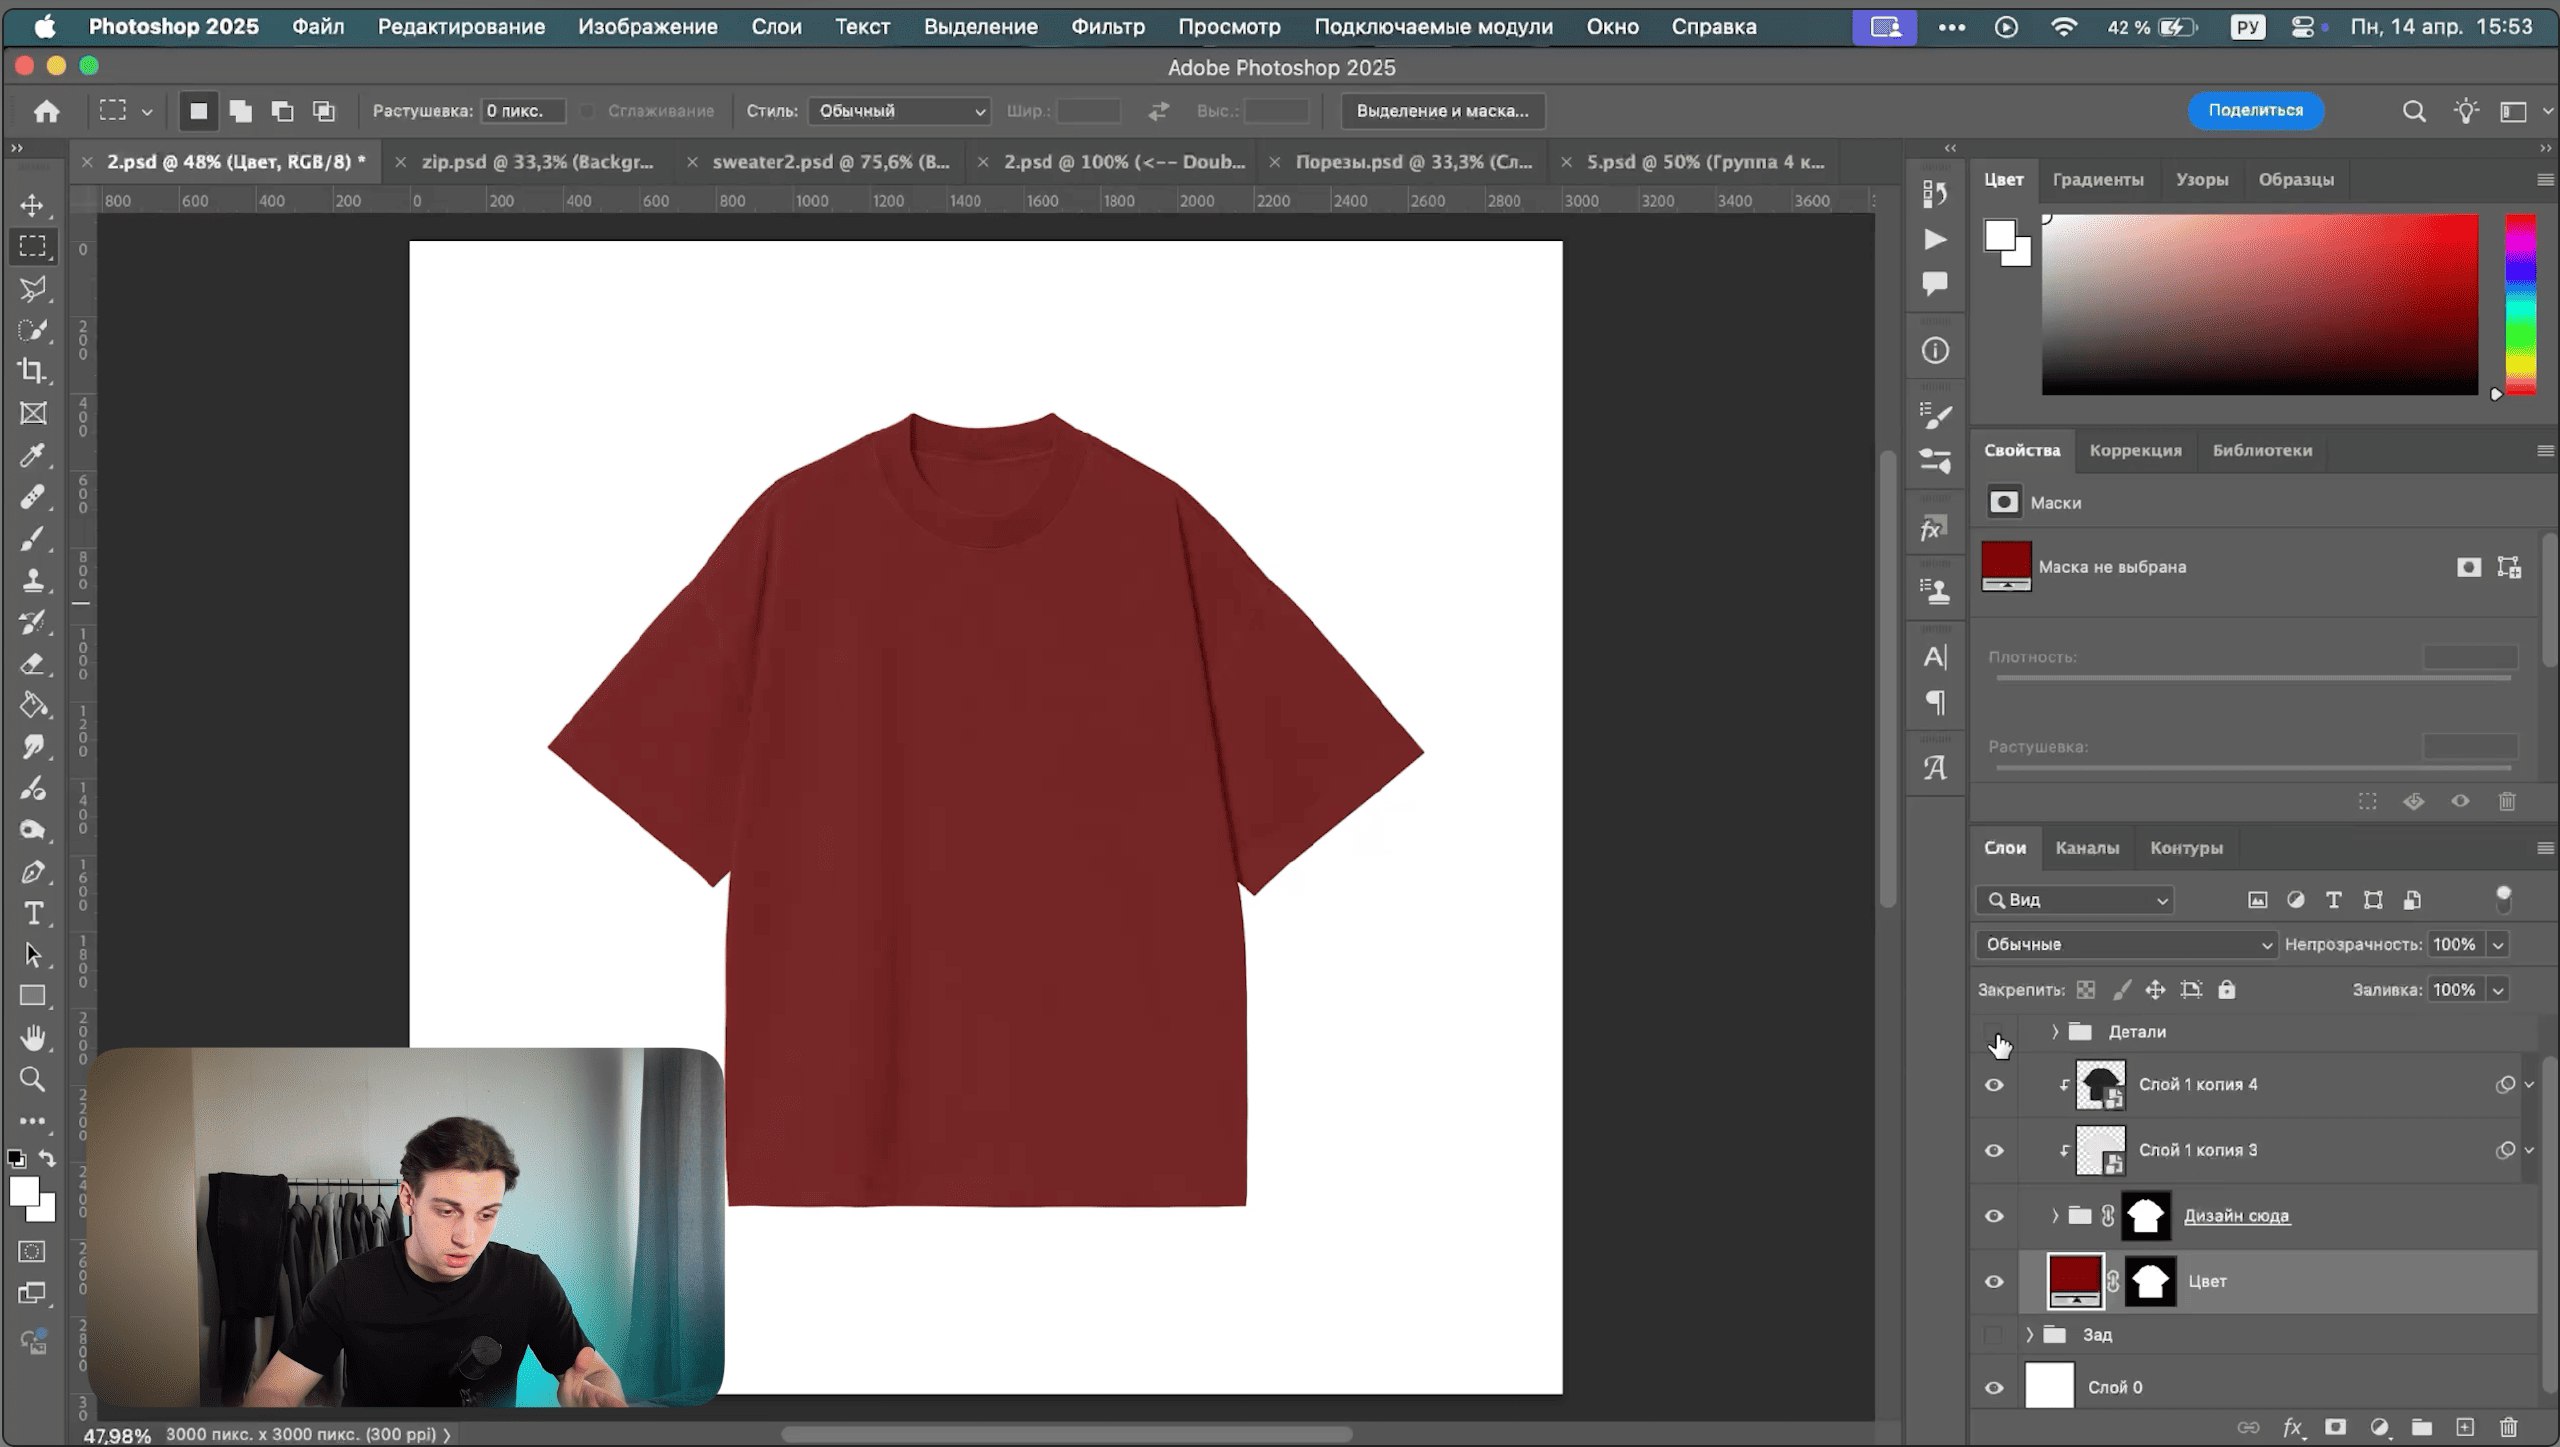
Each mockup is a PSD file made up of two folders, "front" and "back." Inside the folders, all the layers are labeled and self-explanatory. The mockup color changes by changing the color of the "color" layer; your design goes in the "design here" folder to get the print overlay effect. Some mockups have additional folders, e.g. "sleeves," "collar," "laces," etc. — editing works the same way.
Additional interaction:
Wash effect:
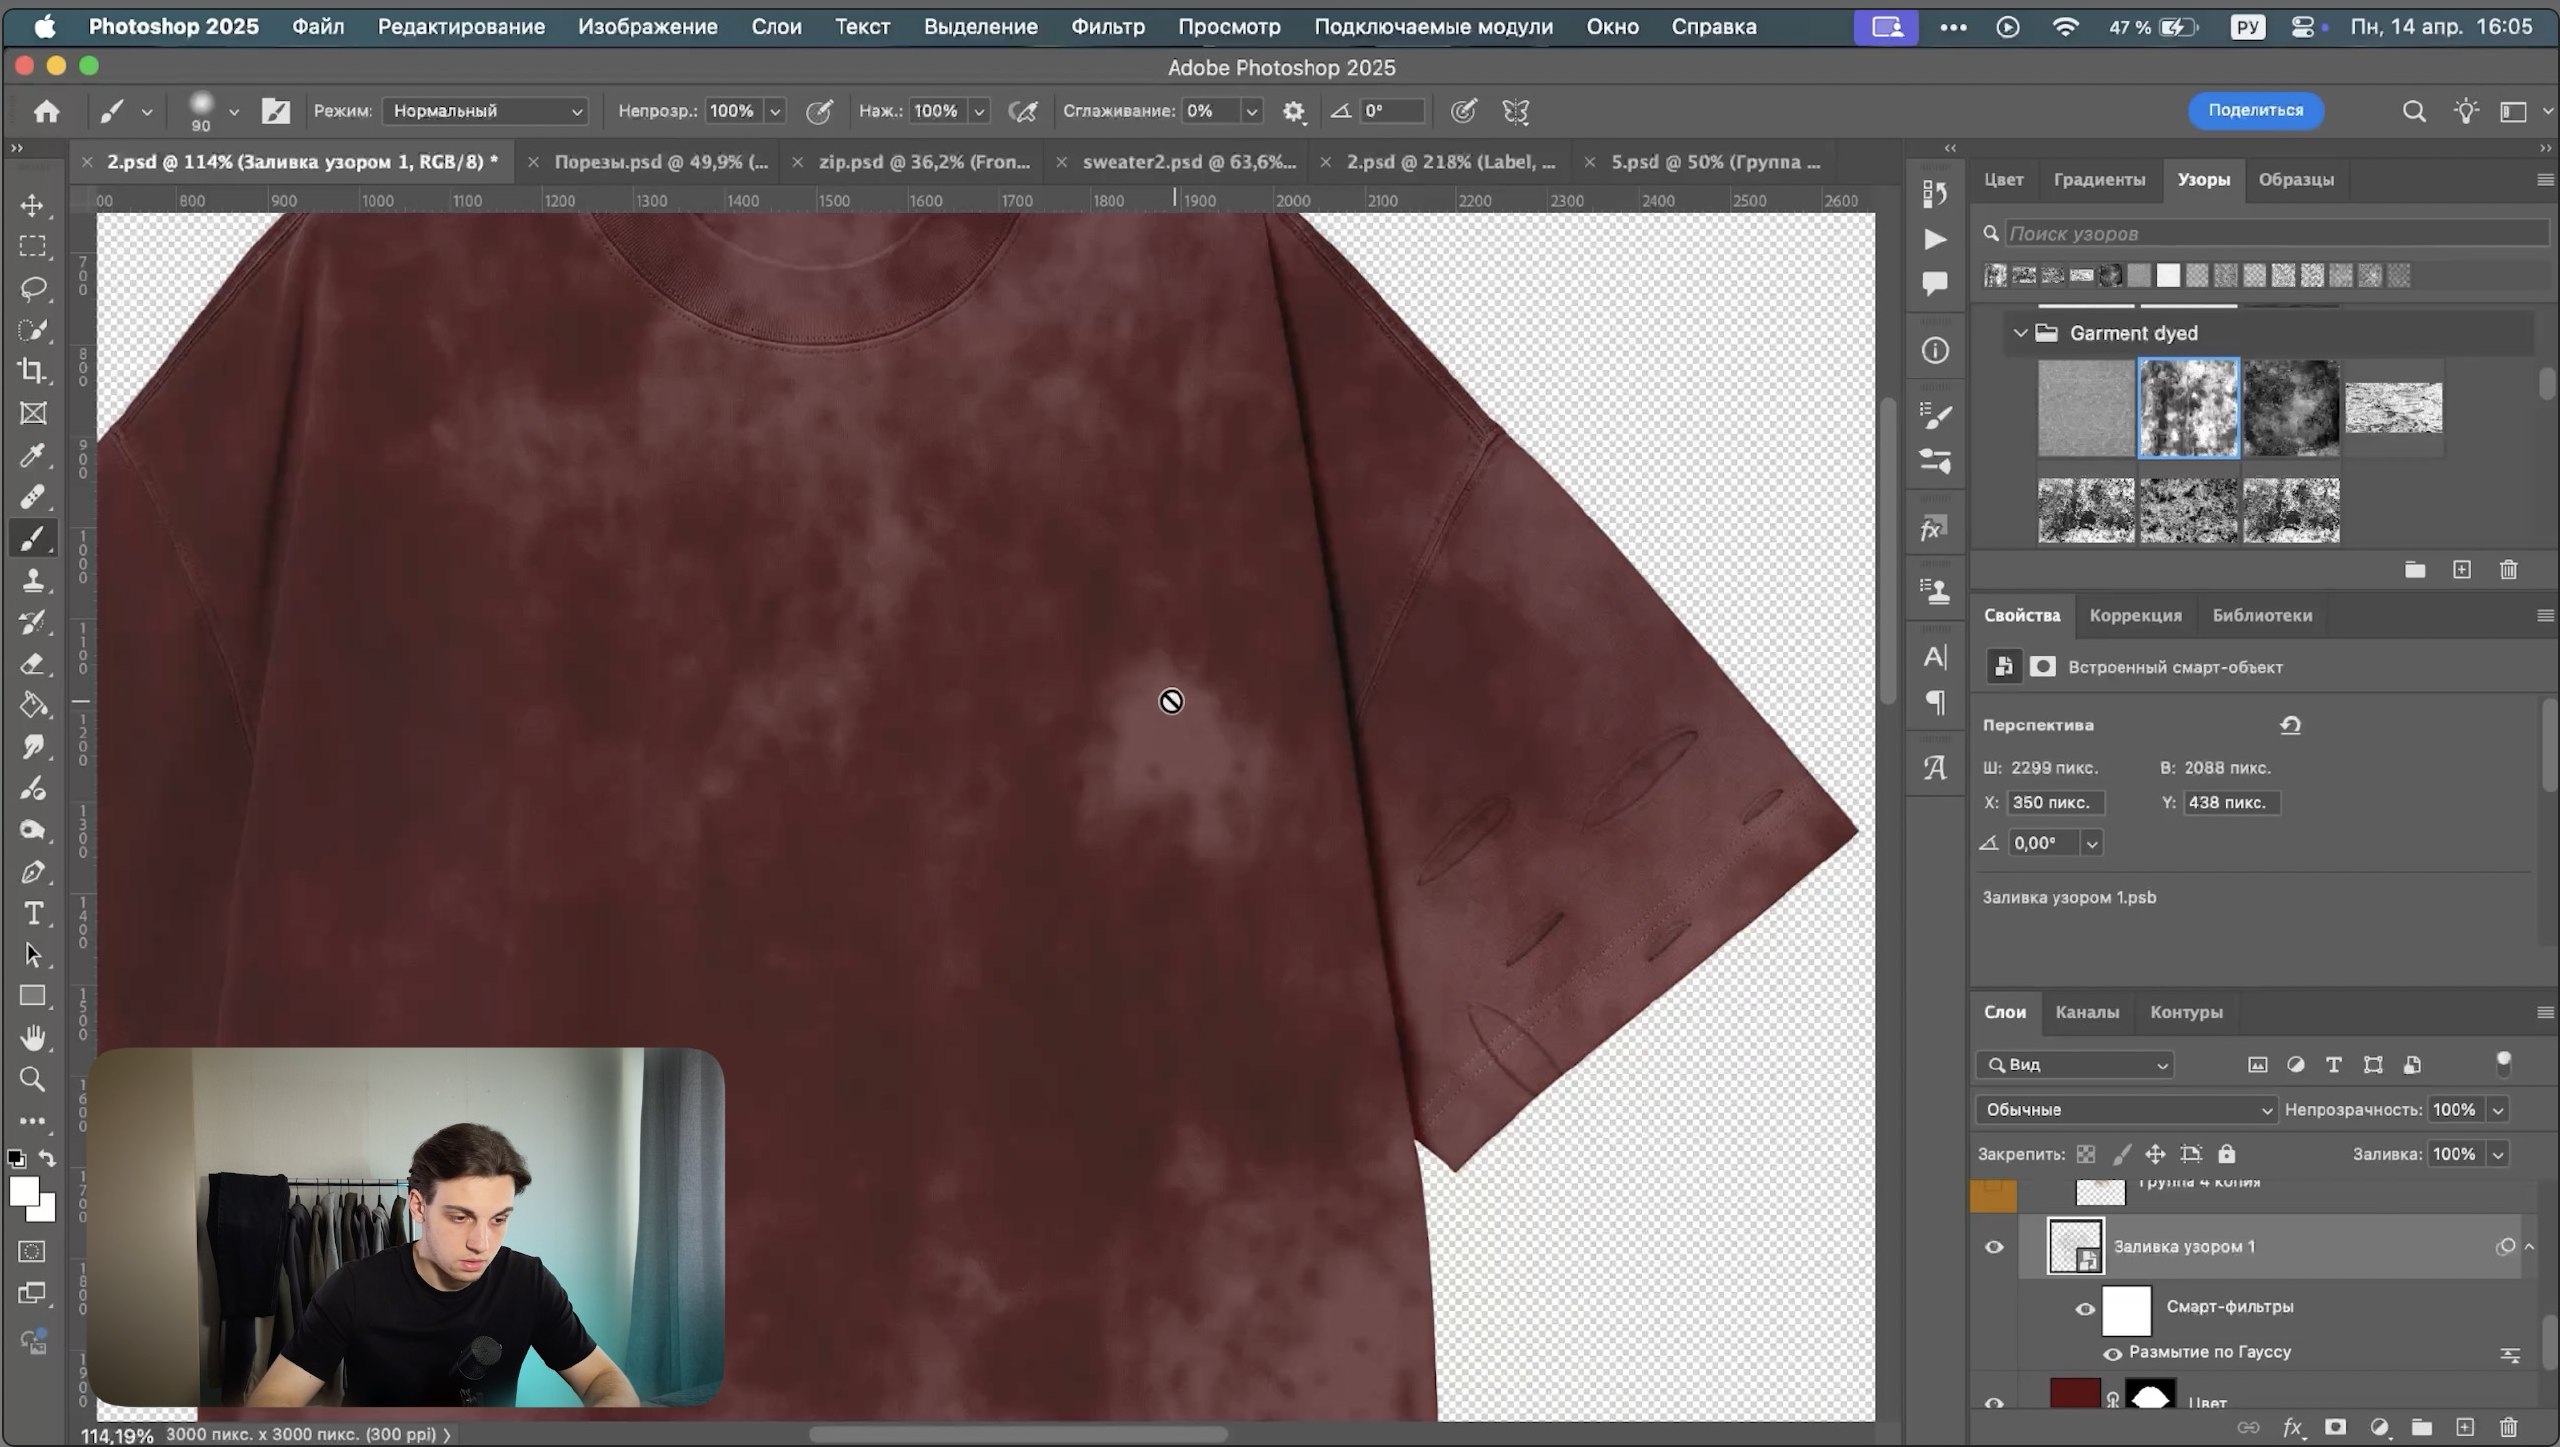
Add a pattern layer with one of the wash effects; you can edit its scale and rotation angle. From there you have two editing options: lower the layer's opacity until you get the result you want, or change the layer's blend mode. You can also apply a Gaussian blur effect to get a more realistic result.
Heather effect:
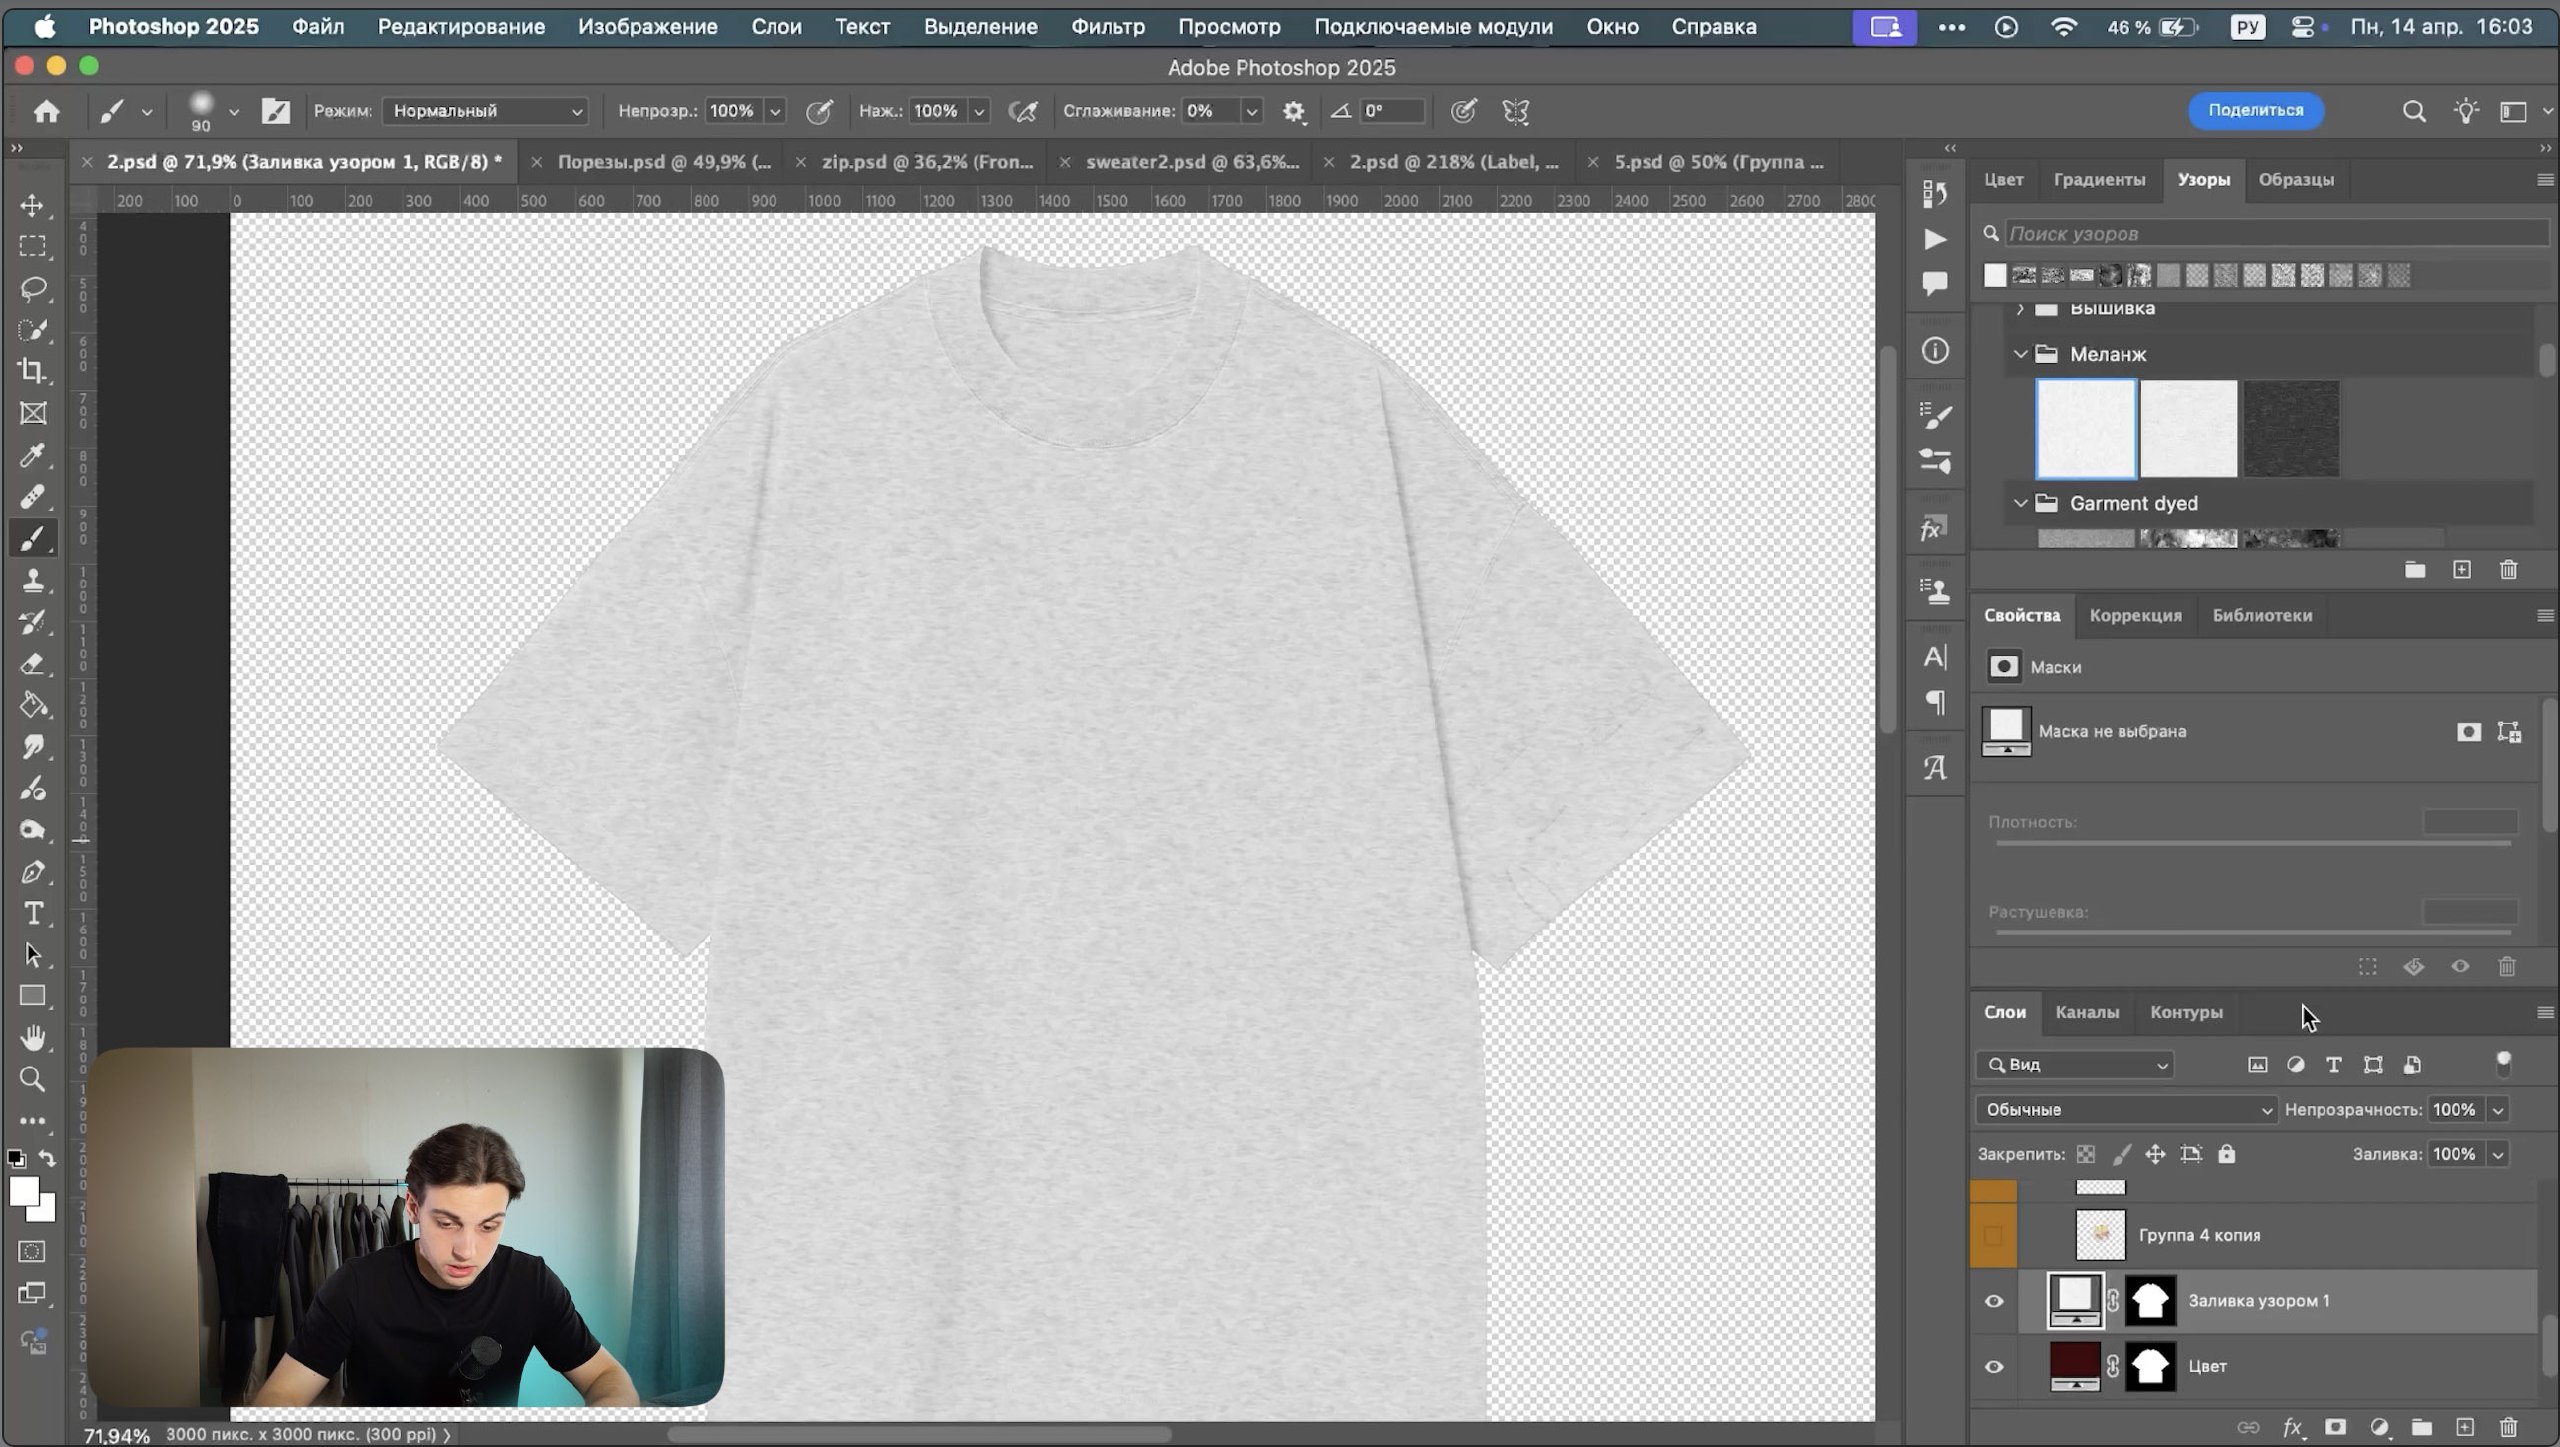
Create a pattern layer, then adjust the scale and rotation angle — keep the scale small. Then also adjust the opacity or the layer blend mode.
Cut/slash effect:
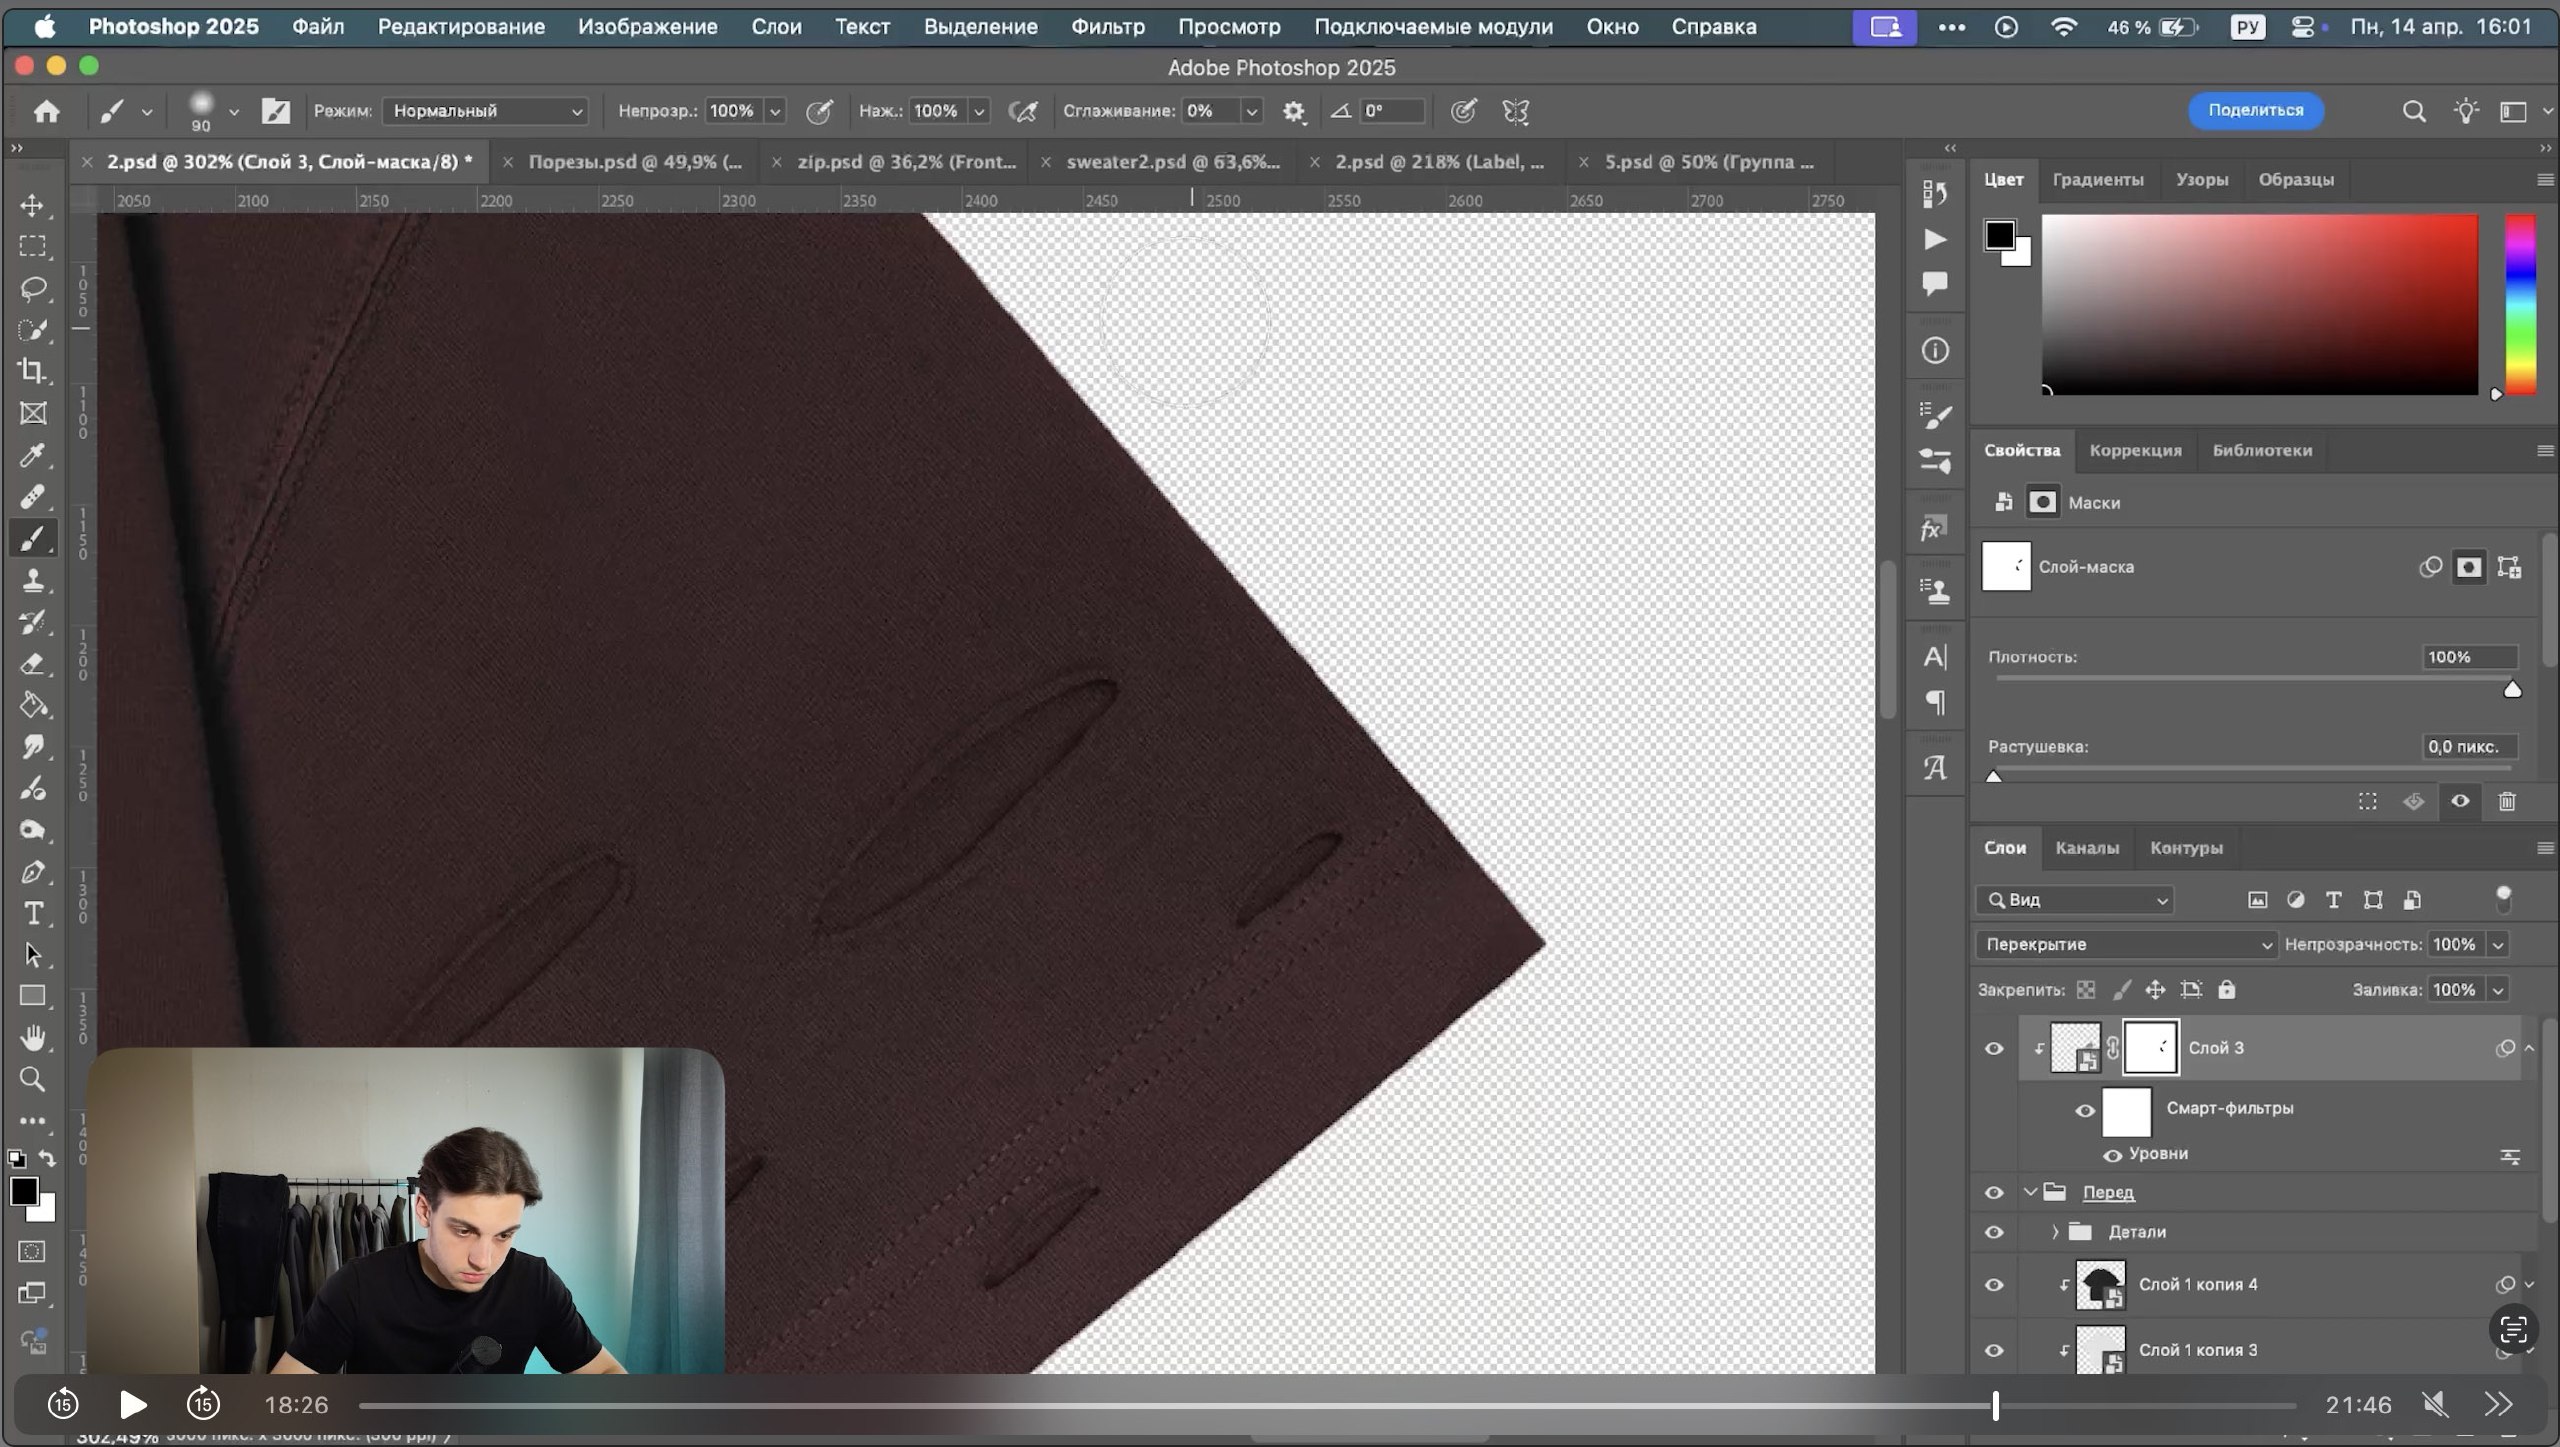
Copy the cuts you need from the source layer, then paste them into the mockup document, place the cuts above the folder, and create a clipping mask. Then change the blend mode to Overlay, adjust the color with Levels (Ctrl+L). Create a mask and erase the edges with a soft brush.
Watch the more detailed video guide/review on my YouTube. If you still have questions, feel free to ask me on Telegram.